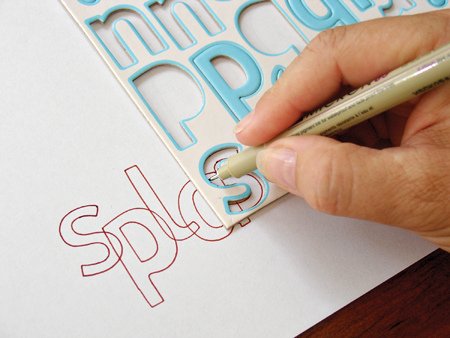
In this challenge up on Club CK, Kim Watson shows how you can use the negative part of a sheet of chipboard letters to create outlined titles. Click here to go to the tutorial.
Themes, layouts and inspirations
In this challenge up on Club CK, Kim Watson shows how you can use the negative part of a sheet of chipboard letters to create outlined titles. Click here to go to the tutorial.
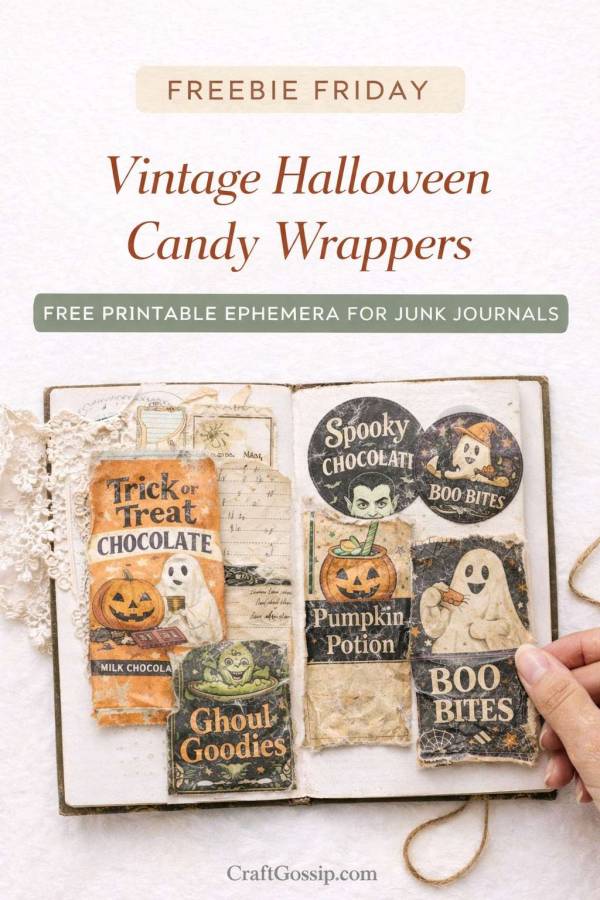
If you grew up in the 70s, 80s or even 90s, you probably remember when Halloween candy looked different. The wrappers were bold. Slightly spooky. A little dramatic. Not overly glossy or cartoonish — just good old-fashioned Halloween charm.
That’s exactly the feeling I wanted to capture in this week’s Freebie Friday.
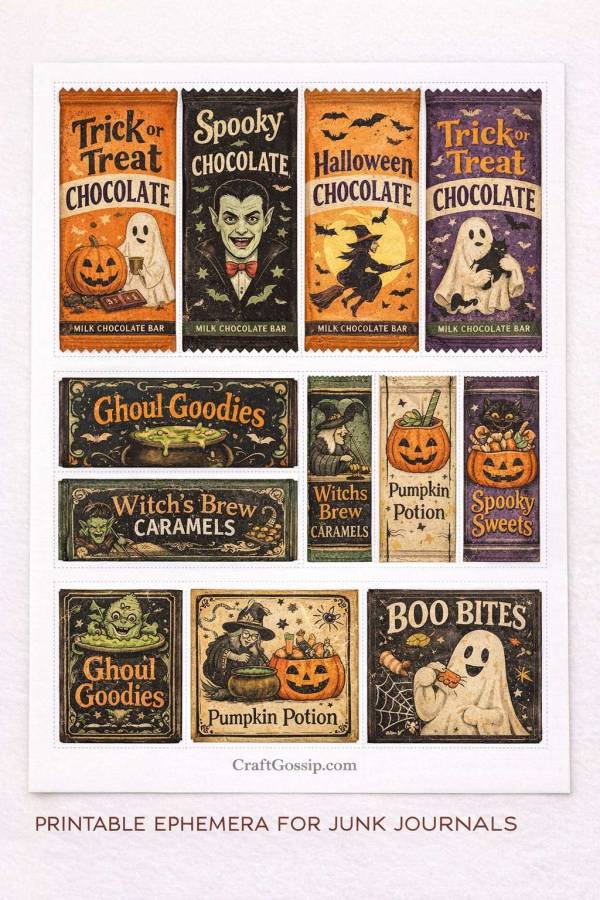
These Vintage Halloween Candy Wrappers printables are inspired by retro chocolate bar packaging, old-school sweet shop labels, and the kind of treats you’d imagine finding in a creaky corner store on October 31st. They’re colorful, slightly distressed, and full of nostalgic Halloween magic.
And yes… they look absolutely adorable in junk journals.
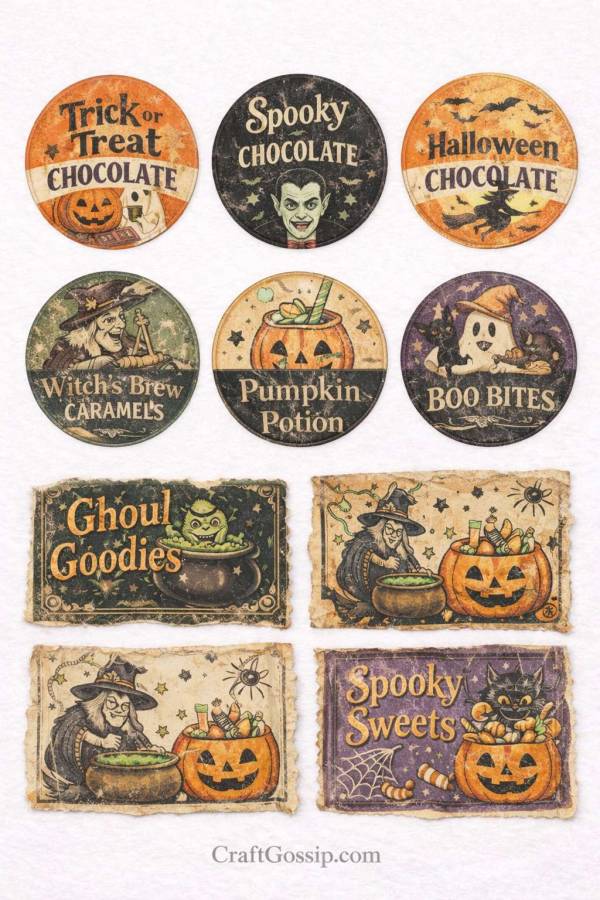
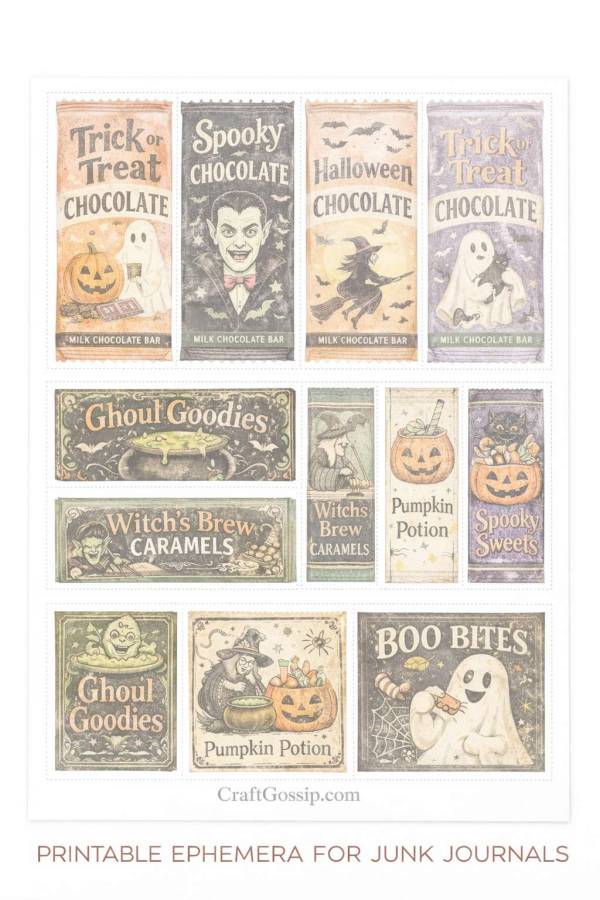
This Halloween printable collection includes a mix of:
The designs feature ghosts, pumpkins, witches, bats, black cats, and playful retro typography like “Trick or Treat,” “Spooky Chocolate,” “Boo Bites,” and “Witch’s Brew Caramels.”
They’re designed to feel collected — like a little stash of vintage Halloween candy ephemera tucked inside an old scrapbook.
Candy wrappers are one of those unexpected pieces that add personality instantly. They’re playful, nostalgic, and slightly whimsical without feeling childish.
They add:
If you’re building a Halloween junk journal, October daily, fall scrapbook, or even handmade treat packaging, these are such a fun detail.
This is where it gets fun.
Print on lightweight paper, wrap around small chocolate bars, and secure with double-sided tape. It instantly turns a simple treat into something special.
Tuck the torn-edge versions into pockets. Layer the round stickers over tags. Use the crinkled designs as decorative accents.
Wrap mini chocolates for a vintage-style Halloween party. They look charming in little kraft paper bags.
Use the wrappers as journaling spots. Write a Halloween memory on the back before attaching to your page.
Glue a wrapper onto the top of a small box for themed packaging that feels intentional and creative.
To keep the colors vibrant but not overly saturated:
If you want a more distressed look, lightly sand the edges or ink around them with a soft brown ink.
There’s something about retro Halloween that feels less commercial and more magical. The ghosts aren’t scary — they’re charming. The pumpkins have personality. The witches are mischievous instead of frightening.
It feels like childhood memories mixed with craft room creativity. And honestly, that’s my favorite combination.
Pair these candy wrappers with:
Layer them together to create a full Vintage Halloween Junk Journal series that feels cohesive and delightfully nostalgic.
You can print this set as many times as you like for personal use. Wrap treats, decorate journals, create Halloween party favors, or simply enjoy a cozy fussy-cutting session with a cup of tea.
Freebie Friday is all about giving you beautiful, usable pieces that spark creativity without overwhelm — and this one is pure October fun.
Hi, not sure how old this post is, but I just came across it on Pinterest. It looks like a great idea, but unfortunately the link doesn’t work…how do I access this tutorial?
This post is 10 years old, it looks like the blog no longer has the tutorial anymore.
-Heather