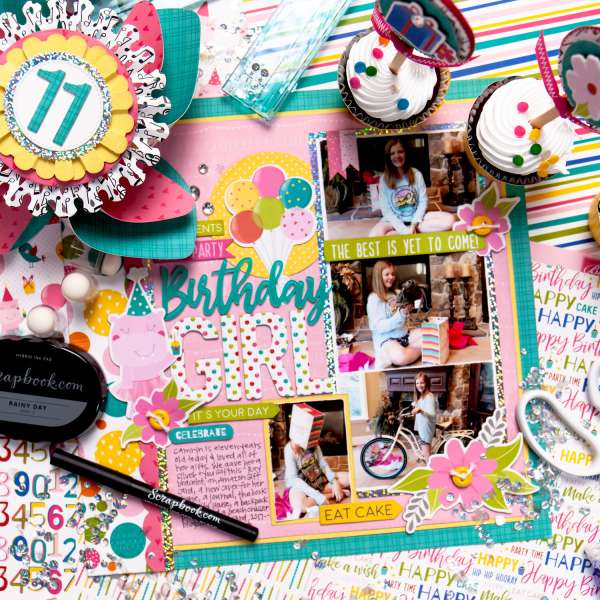
 This sweet birthday girl layout has lots of pink, flowers, glittery cardstock and polka dots. Jana included a lot on this page, there’s room for 4 photos, a big title and journaling. I spotted this layout on Jana Eubank’s Scrapbook.com gallery.
Everyone has a birthday, it’s an event where loads of photos are always taken and as scrapbookers we probably scrap many, many birthdays over the years. So we’re always on the lookout for fresh new ideas for birthday layouts, right? Whether it’s a huge party, a small gathering of friends and family, a birthday trip or a day out and no matter what the age you’re sure to find some inspiration in this collection of fun and festive birthday layouts ideas.
Beneath each photo you’ll find a link, click it to learn more like products used, tips and tutorials.
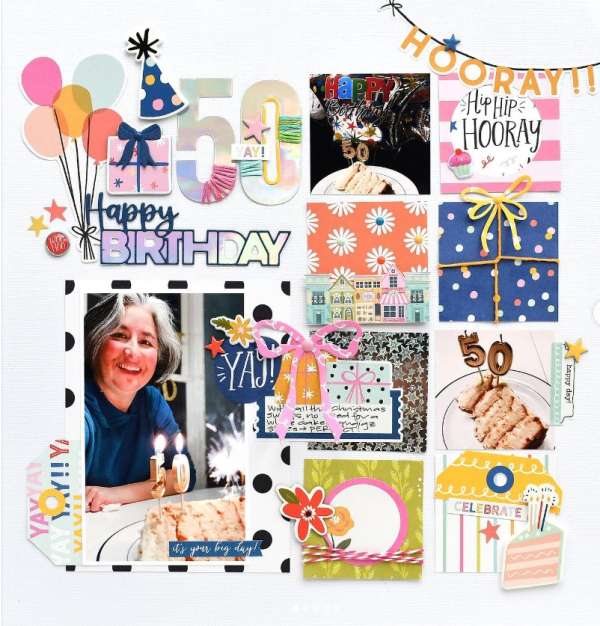
This page is half a grid design made up of squares of pretty pattern papers mixed with embellishments, journaling and photos, the other half is a larger photo and fun title. This is a great way to use up square scraps of papers! I came across this on Suzanna Lee’s Instagram.
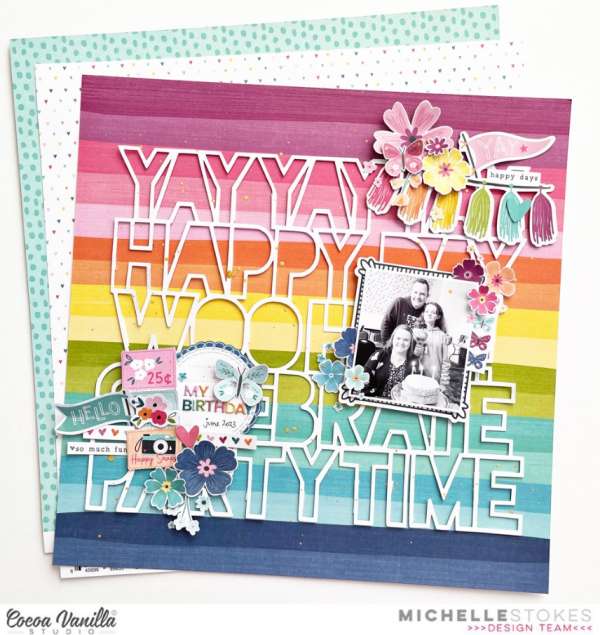
This colorful layout has a large die cut that includes lots of celebratory words cut from white cardstock and placed over a striped paper so the colors come through and there’s no need to back the letters individually. Notice how the black and white photo stands out from all the color. Visit the Cocoa Vanilla blog for more info.
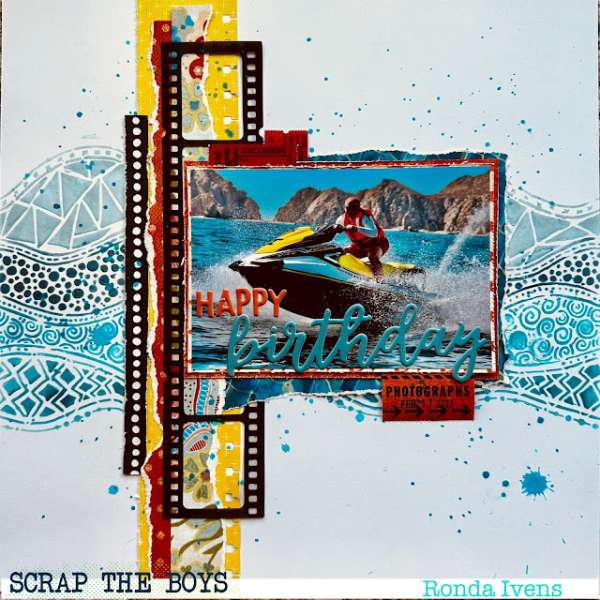
This amazing layout captures all the fun of an adventurous birthday spent on the water jet skiing. This mixed media design has a wavy blue stenciled background, torn strips of papers and puffy alphabet letters for the title. Visit the Scrap the Boys blog for a closer look.
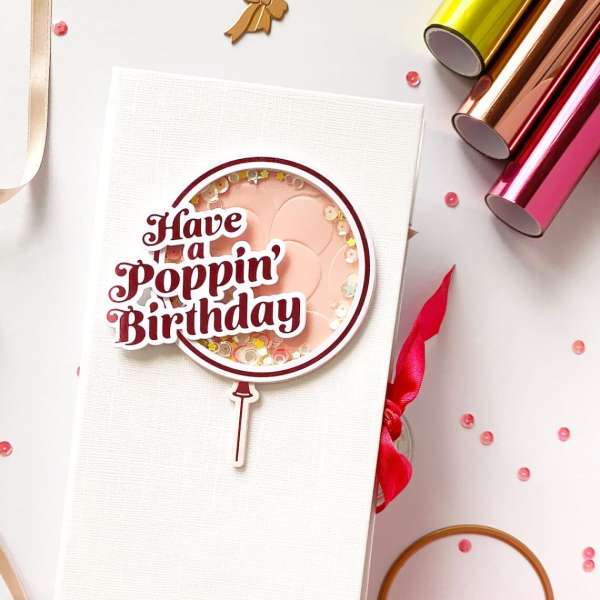
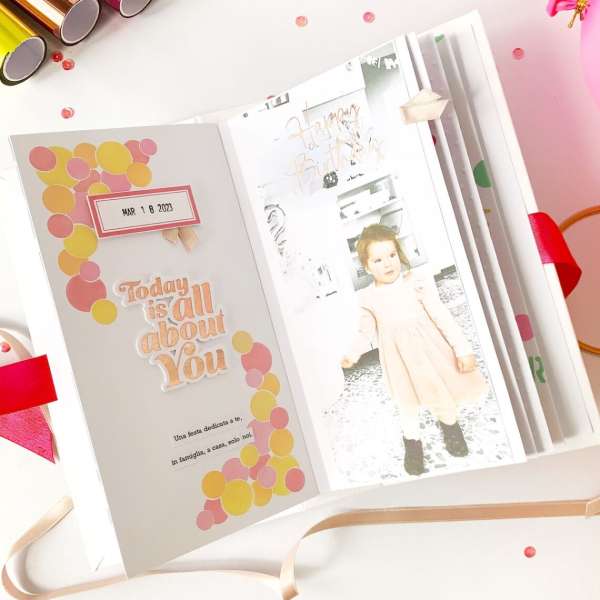
If you have way too many photos for just a couple of pages then try creating a mini album instead. This sweet tall little album has a balloon shaker element on the cover and shiny foiled sentiments throughout. Take a look at the entire project on the Spellbinders blog.
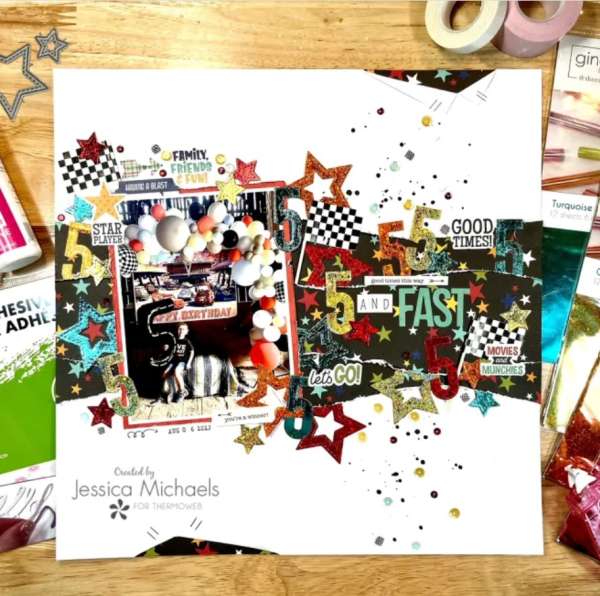
This wonderful birthday layout has lots of texture, movement and shine! The border across the center is made from torn pattern paper, there’s lots and lots of foiled numbers and stars using Gina K. Fancy Foils, there’s also splatters, sequins and fabulous fun phrases. Visit the Therm O Web blog for all the details.
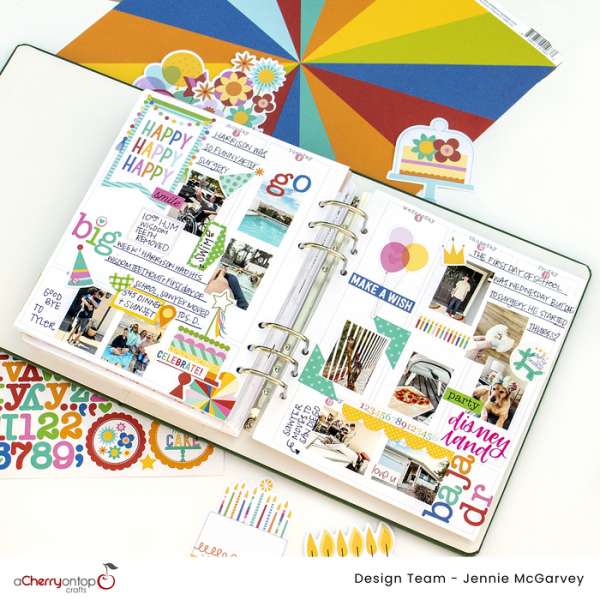
If you’re a memory planner you can dedicate an entire week or just a few days in your planner for the birthday celebration adding small stickers, embellishments and hand journaling alongside the photos. Take a closer look at Jennie’s pages at The Cherry on Top blog.
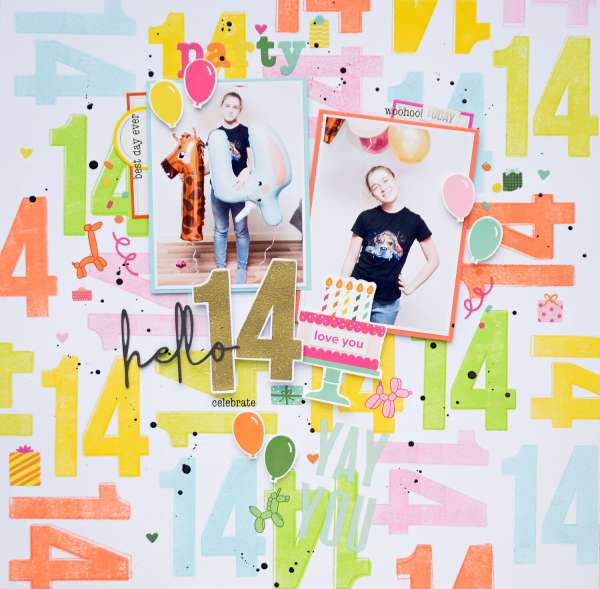
The perfect accent to a birthday layout is to use numbers for the age of whomever’s birthday it is. This colorful page used stamped numbers and many colors of ink pads to create a fun custom background. Check this design out at Moriony’s Scrapbook.com gallery and also find a link to her process video.
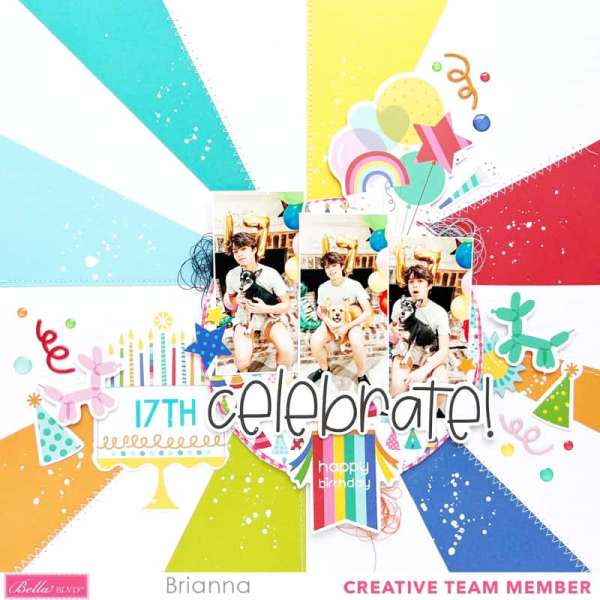
This layout is bursting with fun using a large sunburst design in primary colors sewn onto the background. In the center is a row of tall skinny photos surrounded by clusters of festive embellishments. Find more details on this and several other birthday layouts on the Scrapbook and Cards Today blog.
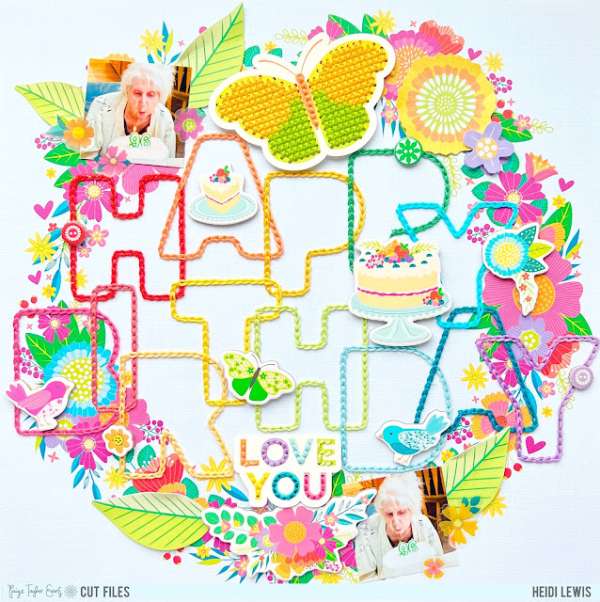
This stunning page used cut file for stitching and Heidi chainstitched the large title in the center of a wonderful wreath of flowers. There’s a couple of tiny photos and a stitched butterfly as well. Learn more over on the Paige Taylor Evans blog.
Why not doughnuts instead of cake for a birthday!? This festive page has doughnut die cuts and colorful letters spelling out Happy Birthday down the sides. Find directions for making a layout like this over on the Creative Memories blog.
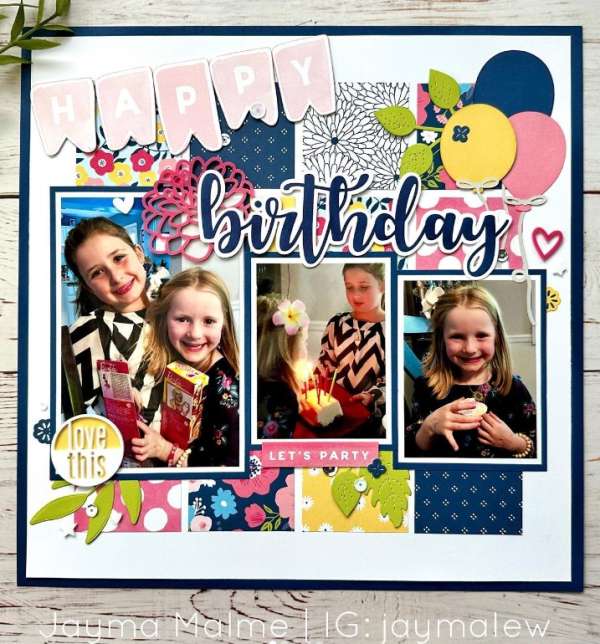
Here’s another design with lots of different pattern paper squares that creates an almost patchwork quilt feel for the background. If you’re mixing different patterns make sure they share some similar colors and tones so the design doesn’t look too busy. Learn more on Jayma Malme’s Instagram.
I hope you’ve discovered some new inspirations to use when creating your next birthday layouts!
-Heather
Shop some of our affiliate companies mentioned in this post:

Leave a Reply