• Home
  • Suggest A DIY
  • DIY Newsletter

Scrap Booking

Themes, layouts and inspirations

  • About CraftGossip
  • Our Network
    • Bath & Body Crafts
    • Candle Making Ideas
    • Crochet Ideas
    • Cross Stitch
    • Edible Crafts
    • Felting Patterns
    • Glass Art
    • Home & Garden Ideas
    • Indie Crafts
    • Jewelry Making
    • Kids Crafts
    • Knitting Patterns
    • Lesson Plans
    • Needlework
    • Party Ideas
    • Polymer Clay
    • Quilting Ideas
    • Recycled Crafts
    • Scrapbooking
    • Sewing Patterns
    • Card Making
    • DIY Weddings
    • Not Craft Ideas
  • Giveaways
  • Roundups
  • Store
  • Search

How to Start Junk Journaling

March 22, 2024 by Heather Holbrook

How to Start Junk Journaling

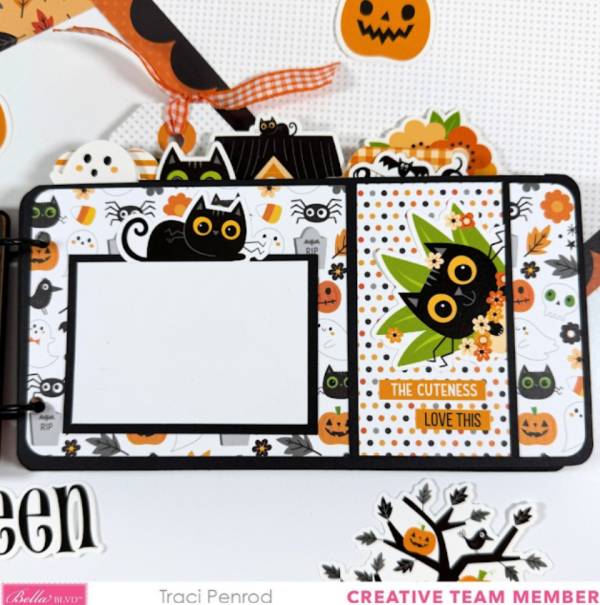
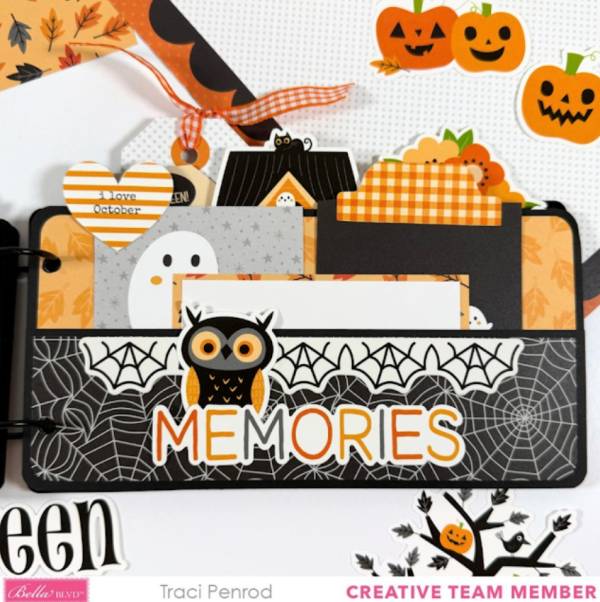
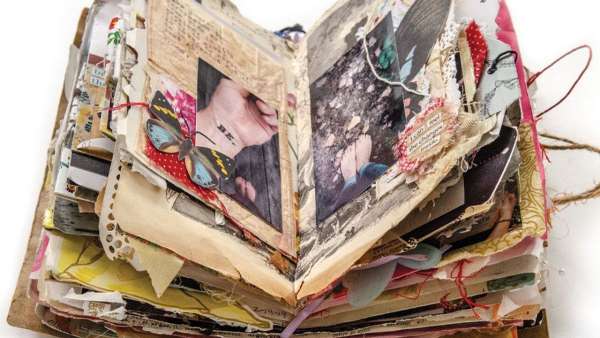
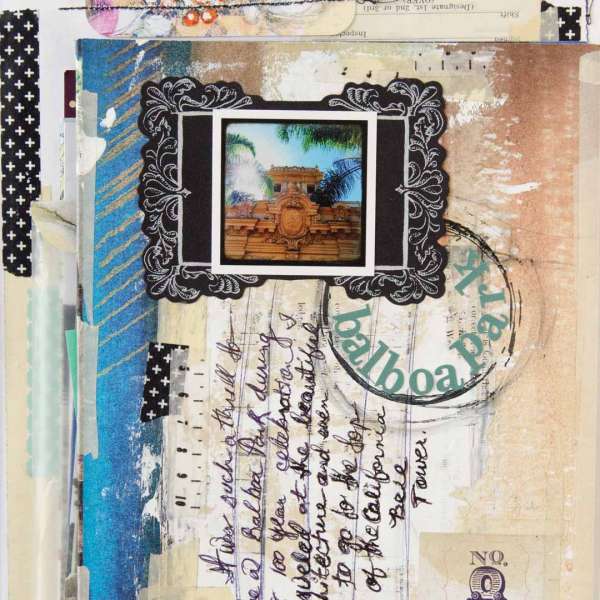
Junk journaling is sort of like scrapbooking but focuses more on thoughts and memories and doesn’t always revolve so much around photos, unless of course you want it too. It’s “looser” than traditional scrapbooking, it doesn’t always have to have a theme or structure, it uses lots more mixed media with a free flowing style and lots of layers. The main focus is using “junk” paper and ephemera like tags, tickets, map pages, magazine clippings, bits and pieces of anything you find around the house, your crafting space or have picked up along a journey that can be added to a page, it’s a great way to upcycle or recycle! Use these items to make art that evokes feelings, tells stories and capture memories or just play and have fun with them.

If you’ve been spotting those beautifully layered, slightly messy journals all over Pinterest and Instagram and wondering how to start junk journaling yourself, you’re definitely not alone. Junk journaling has become one of the most relaxing and rewarding paper crafts for anyone who loves scrapbooking, memory keeping, and creative upcycling. And the best part? There are no strict rules. No fancy equipment required. No pressure to make it perfect.

If you’ve been searching for how to start junk journaling for beginners, what supplies you really need, or how to make a junk journal from recycled materials, you’re in exactly the right place. Junk journaling is like scrapbooking’s carefree cousin — less structured, more playful, and wonderfully forgiving.

One of the things I love most about junk journaling is how it transforms everyday paper into something meaningful. Old book pages, envelopes, greeting cards, ticket stubs, fabric scraps, wrapping paper, even slightly crumpled receipts — they all become part of the story. Instead of throwing things away, you layer them into pages filled with texture, color, and memories. It’s creative, a little nostalgic, and surprisingly therapeutic.

Junk journaling is also a beautiful way to slow down in a fast, digital world. It gives your hands something to do, your mind space to wander, and your memories a home on paper. Whether you want to create a vintage-inspired junk journal, a travel memory book, a gratitude journal, or simply a creative space to play with paper, getting started is easier than you think.
 

How to Start Junk Journaling

There’s a very helpful and inspiring article about getting started on your own Junk Journal journey over at Somerset Place by Stampington and Company, click here to check it out.

-Heather

Looking for printable journaling items? Check these out on Etsy.
 

«
»

Have you read?

How to Print Vintage Junk Journal Pages at Home Like a Pro

Let’s have a little honest moment.

You download a gorgeous junk journal printable kit. The preview images look rich, textured, perfectly vintage. You hit print… and your page comes out looking flat, dull, or slightly blurry.

It’s not you.

It’s your printer settings.

If you’ve ever searched:

  • best printer settings for printables
    • how to print junk journal pages at home
    • why do my printables look faded
    • how to print vintage journal pages correctly

You’re not alone.

The good news? A few small tweaks can completely transform your printable junk journal pages.

Let’s walk through exactly how to print junk journal printables so they look rich, crisp, and beautifully vintage.

Why Printer Settings Matter for Junk Journal Printables

Most home printers default to “standard” or “draft” mode. That setting is designed to save ink — not to produce layered, detailed artwork.

Junk journal printables often include:

  • Soft vintage backgrounds
    • Faded botanical illustrations
    • Subtle textures
    • Distressed edges
    • Aged paper effects

Low-quality settings flatten those details.

Correct printer settings bring the depth back.

The Best Printer Settings for Junk Journal Pages

Before you print your next printable junk journal kit, adjust these settings.

1. Change Print Quality to “High” or “Best”

This is the most important step.

Go into your printer properties and switch from:

Standard ? High Quality
Draft ? Best

This increases ink saturation and sharpness.

Your vintage journal pages will look deeper and more detailed immediately.

2. Select the Correct Paper Type

Many people skip this — but it makes a huge difference.

If you’re printing on:

  • Matte presentation paper
    • 28lb printer paper
    • Lightweight cardstock

Select the matching paper type in your printer settings.

For most junk journal printables, choose:

Matte Photo Paper
Premium Presentation Paper Matte
Heavyweight Paper

This tells the printer how much ink to apply.

3. Adjust Color Settings for Richer Vintage Tones

If your printables look washed out, try this:

Open advanced color settings and slightly increase:

  • Contrast
    • Saturation (just a little)

Avoid overdoing it — junk journal aesthetics should stay soft and aged.

A small boost makes botanical prints and sepia tones pop beautifully.

4. Print at 100% Scale (Very Important)

Make sure your printable PDF is set to:

Actual Size
100% Scale

Do NOT select:

Fit to Page
Shrink to Printable Area

This prevents distortion and keeps pockets, tags, and templates the correct size.

If you’re printing junk journal envelopes or pockets, this matters a lot.

5. Use the Correct Paper Weight

Even the best printer settings can’t fix thin paper.

For best results with junk journal printables:

  • 24lb paper – good beginner option
    • 28lb paper – ideal balance
    • 32lb paper – great for tags and covers

Thicker paper holds ink better and reduces curling.

How to Prevent Printable Pages from Curling

Heavy ink + thin paper = curling.

To prevent this:

  • Use 24lb–28lb paper
    • Print in high quality mode
    • Lay pages flat immediately after printing
    • Stack under heavy books for 20–30 minutes
    • Avoid humid rooms

Most curling problems disappear with heavier paper and proper drying.

Inkjet vs Laser Printers for Junk Journal Printables

This is a common question.

Inkjet Printers

Pros:
• Richer color depth
• Better for vintage textures
• Ideal for botanical and distressed designs

Cons:
• Ink can smudge if wet

Best choice for junk journal aesthetics.

Laser Printers

Pros:
• Fast
• Crisp text

Cons:
• Can look flatter
• Less depth in vintage backgrounds

Laser works fine, but inkjet often produces softer, more authentic-looking vintage pages.

How to Print Double-Sided Junk Journal Pages

If your printable junk journal kit includes double-sided designs:

  1. Print odd pages first.

  2. Flip paper correctly (test one sheet first).

  3. Print even pages.

Always test alignment before printing an entire kit.

This saves frustration and wasted paper.

Best File Format for Junk Journal Printables

Always print from:

High-resolution PDF files.

Avoid printing from low-resolution screenshots or compressed images.

If your junk journal printable looks blurry, check that you’re using the original PDF download.

Troubleshooting Common Printing Problems

My Printable Looks Faded

  • Increase print quality
    • Select matte paper type
    • Slightly increase contrast

My Pages Look Too Dark

  • Reduce saturation slightly
    • Check paper setting
    • Avoid glossy mode

Edges Are Cut Off

  • Make sure scale is set to 100%
    • Adjust margins
    • Use “Actual Size”

Creating That True Vintage Look

If you want your printable junk journal pages to look even more aged:

After printing, try:

  • Light tea or coffee staining
    • Gently inking edges with brown distress ink
    • Lightly sanding edges
    • Tearing edges instead of trimming

Printer settings create the base.

Finishing techniques create the magic.

Final Thoughts on Printing Junk Journal Printables at Home

The difference between “meh” and “wow” printables often comes down to five minutes in your printer settings.

Switch to high quality.
Choose matte paper.
Print at 100%.
Use slightly heavier paper.
Let pages dry flat.

That’s it.

Once you dial in your printer settings, your printable junk journal kits will look richer, more textured, and beautifully vintage.

And trust me — once you see the difference, you’ll never print on draft mode again.


Explore

backgrounds Christmas Crafts Design Theory die cutting embellishments family Freebies Free Printables Holidays Inspiration - Layout Ideas Journaling News Paper Crafts Scrapbooking Themes Scrapbook Titles Techniques Tips and Tricks Tutorials Tutorials & Ideas

RSS More Articles

  • How to Sew a Patch on a Hat by Hand or Machine
  • Free Petals Embroidery Pattern Review
  • Knit a Summer Top with Blocks of Lace
  • Wedding Mini Album
  • Get Kids Moving with a Themed Obstacle Course
  • 10 Free Toothless Crochet Patterns For How To Train Your Dragon Fans
  • 35 Free Quilting Patterns for Beginners and Confident Quilters (Updated for 2026)
  • 10 Free Miffy Crochet Patterns For Adorable Amigurumi Bunnies
  • How to Cross Stitch a Table Cloth
  • 17 Free Crochet Market Bag Patterns For Groceries, Produce And Everyday Use

Copyright © 2026 · CraftGossip | Start Here | Contact Us | Link to Us | Your Editors | Privacy and affiliate policy