• Home
  • Suggest A DIY
  • DIY Newsletter

Scrap Booking

Themes, layouts and inspirations

  • About CraftGossip
  • Our Network
    • Bath & Body Crafts
    • Candle Making Ideas
    • Crochet Ideas
    • Cross Stitch
    • Edible Crafts
    • Felting Patterns
    • Glass Art
    • Home & Garden Ideas
    • Indie Crafts
    • Jewelry Making
    • Kids Crafts
    • Knitting Patterns
    • Lesson Plans
    • Needlework
    • Party Ideas
    • Polymer Clay
    • Quilting Ideas
    • Recycled Crafts
    • Scrapbooking
    • Sewing Patterns
    • Card Making
    • DIY Weddings
    • Not Craft Ideas
  • Giveaways
  • Roundups
  • Store
  • Search

Mini Travel Album

February 8, 2020 by Heather Holbrook

Mini Travel Album

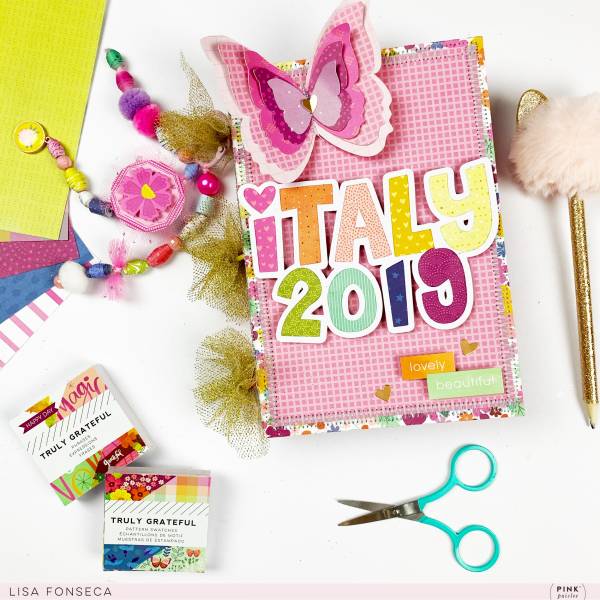
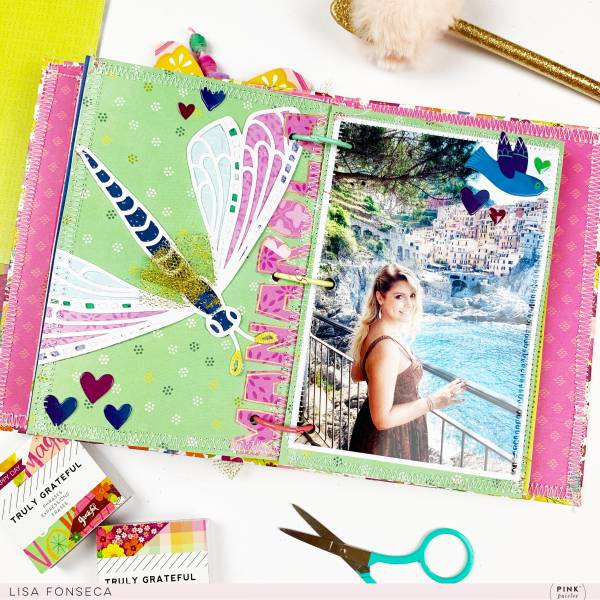
Lisa Fonseca designed a 3 ring binder album to document her trip to Italy. The bright colors and boho style give it a colorful and trendy feel. I love how she added stitching around the edge of each page as well as the edges of the mini album to tie it all together. Take a look at all the pages and find a link to how she created the album base over on her blog.
Mini Travel Album

Click here to check it out.

-Heather

Mini albums are great little projects for using up scraps, trying out new products and experimenting with techniques and designs. If you are looking for ideas, stamps, papers and supplies for mini albums then check these out on Scrapbook.com
«
»

Have you read?

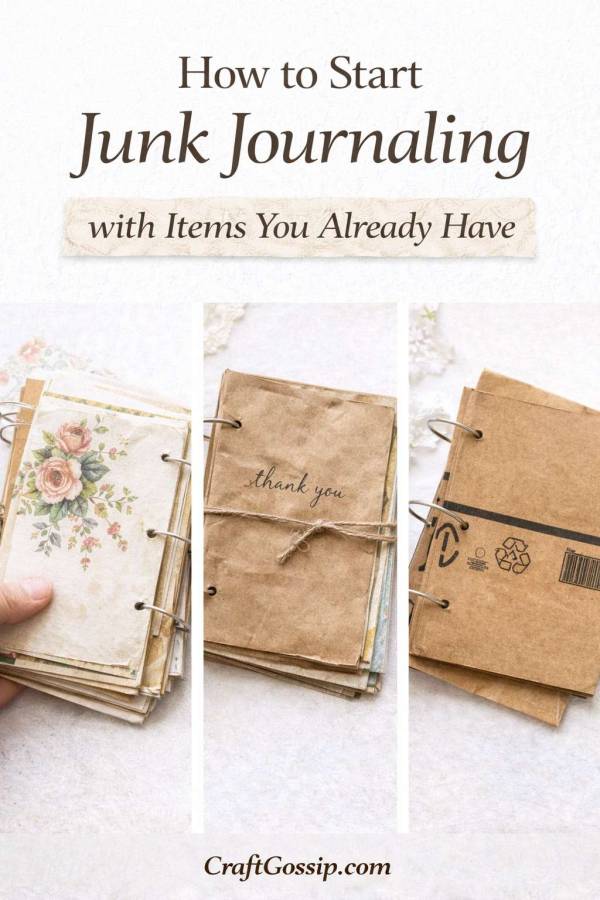
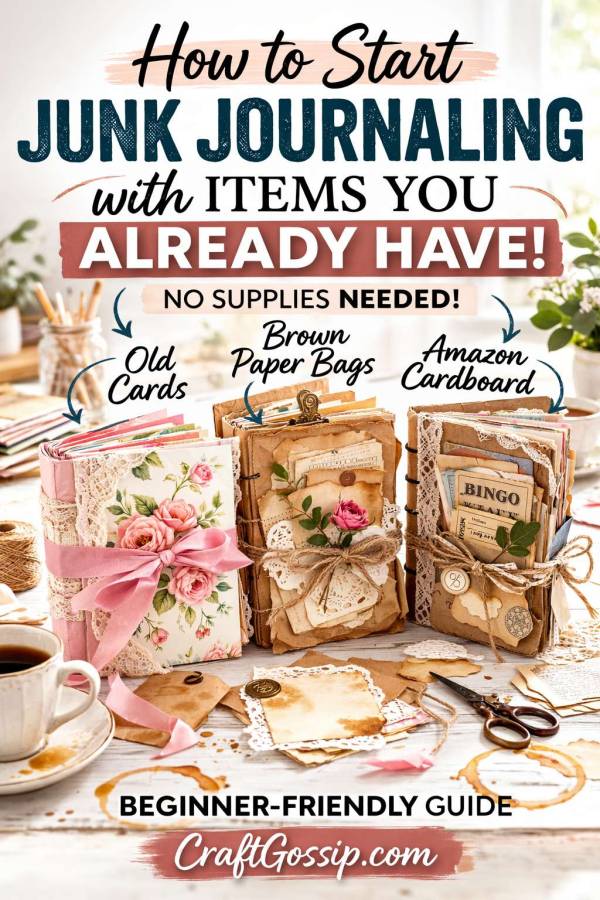
How to Start Junk Journaling with Items You Already Have

Let’s just say this out loud.

You do not need to buy anything to start junk journaling.

Not a kit.
Not a bundle.
Not a $200 “starter haul.”
Not even those beautiful coordinated printable packs (tempting, I know).

If you’ve been pinning junk journals, watching flip-through videos, admiring all those layered, tea-stained, lace-trimmed pages and thinking, “I’d love to do that but I don’t have the supplies…”

You probably do.

In fact, if you’ve ever kept a pretty envelope “just in case,” tucked a birthday card into a drawer, or saved ribbon from a gift — you are already a junk journaler at heart.

So let’s talk about how to start junk journaling using what’s already in your house.

First — What Junk Journaling Actually Is

Junk journaling isn’t scrapbooking.
It isn’t art journaling.
It isn’t about perfection.

It’s about layering paper.
Saving memories.
Using scraps.
Creating something beautiful from everyday bits.

The word junk isn’t an insult — it’s the magic.

Old paper.
Leftover packaging.
Forgotten notes.
Book pages.
Receipts.
Paper bags.

All fair game.

And honestly? The less polished it is, the better it looks.

Start with a Cover (No Craft Store Required)

Before your brain starts whispering “I need chipboard,” pause.

Walk into your kitchen.

Open the recycling.

You can make a junk journal cover from:

  • A cereal box

  • Amazon packaging

  • A brown paper bag

  • An old file folder

  • Sturdy junk mail

Cut it to size. Fold it in half.

There. That’s your cover.

If you want it thicker, glue two pieces together. Done.

No special tools.
No special trip.
No drama.

Now Go “Shopping” in Your House

This is my favourite part.

Walk around your home and look at paper differently.

Instead of asking, “Is this rubbish?” ask, “Could this live in a junk journal?”

Look for:

  • Old paperback books (especially damaged ones)

  • Sheet music

  • Magazines with lovely typography

  • Envelopes

  • Greeting cards

  • Wrapping paper scraps

  • Receipts

  • Calendar pages

  • Kids’ artwork

  • Printed recipes

You will be surprised how quickly a little pile forms.

And don’t worry about matching colours yet. Junk journals thrive on variety.

Fold It. That’s It.

Take your collected paper and fold each sheet in half.

Stack four to six folded sheets together.

That little bundle is called a signature — but don’t let the word scare you. It’s just folded paper nested together.

You can start with one signature for a small journal. Or make two if you’re feeling enthusiastic.

Slightly uneven edges? Perfect.
Different paper textures? Even better.

Bind It with Whatever You Have

Before you decide you need a bookbinding kit — you don’t.

Check your sewing drawer.

You can use:

  • Regular thread

  • Embroidery floss

  • Twine

  • Yarn

  • Ribbon

Punch three little holes along the fold with a thick needle or push pin.

Stitch through. Tie it off.

Congratulations. You just bound your first junk journal.

If stitching feels intimidating, use binder rings or tie ribbon through punched holes.

There is no junk journal police.

Use Everyday Things as Embellishments

This is where people think they need printable ephemera.

You don’t.

Use:

  • Old stamps

  • Ticket stubs

  • Buttons

  • Tea bag wrappers

  • Fabric scraps from worn clothes

  • Notes from your kids

  • Old shopping lists

  • Dried leaves

Glue them down.
Layer them.
Tuck them into pockets.

The beauty of junk journaling is that nothing has to match perfectly.

Make Simple Pockets (No Templates Needed)

Pockets are easy.

You can:

  • Glue three sides of an envelope

  • Fold up the corner of a page

  • Glue a scrap rectangle as a tuck spot

  • Use the bottom of a paper bag

Slip in little notes, quotes, or memories.

That hidden element? That’s what makes junk journals so charming.

If It Looks Too White, Age It

If your pages feel too crisp and modern, grab a mug.

Strong black tea brushed lightly across paper instantly softens it.

Cooled coffee gives deeper, richer tones.

Even lightly crumpling paper and smoothing it out adds character.

You don’t need distress inks to create a vintage feel.

Your kitchen is enough.

What You Absolutely Do Not Need

Let’s clear the mental clutter.

You do not need:

  • A cutting machine

  • Specialty punches

  • Expensive scrapbook paper

  • A full craft room

  • A giant supply haul

Junk journaling was born from using leftovers.

Start there.

Why Starting with What You Have Makes Better Journals

When you use real-life paper — not curated packs — your journal feels different.

An old grocery list.
A recipe in someone’s handwriting.
A card from years ago.

That’s texture.
That’s story.
That’s depth.

You’re not just decorating pages.

You’re preserving pieces of life.

The Only Thing You Actually Need

You don’t need better supplies.

You need to start.

Fold paper.
Stitch it.
Glue something down.

Your first journal won’t look like the ones online.

That’s fine.

Your second will be different.
Your third will feel more confident.

Junk journaling grows with you.

If you’ve been waiting until you have “the right supplies,” consider this your nudge.

Open a drawer.
Pull out paper.
Begin.

And once you do?

You’ll never look at an envelope the same way again.

Explore

backgrounds Christmas Crafts Design Theory die cutting embellishments family Freebies Free Printables Holidays Inspiration - Layout Ideas Journaling News Paper Crafts Scrapbooking Themes Scrapbook Titles Techniques Tips and Tricks Tutorials Tutorials & Ideas

RSS feed: More Articles More Articles

  • Fun Halloween Worksheets for Kids
  • How to Start Junk Journaling with Items You Already Have
  • Free Printable Witch Hat Bag Toppers for Doritos
  • Granny Square Along by Lori Holt: A Crochet Book for Lovers of Vintage Colour
  • 10 DIY Scary Halloween Decorations for a Seriously Spooky Home
  • Pumpkin Man Doughnut Treats With a Free Halloween Printable
  • How to Make a Double Interactive Cauldron Card for Halloween
  • Book Review: Stitch Alphabets & Numbers
  • Knit a Leopard Print Shawl and Learn about Yarn Substitution
  • DIY Mini Cotton Bag Ghosts: Easy No-Sew Halloween Decorations

Copyright © 2026 · CraftGossip | Start Here | Contact Us | Link to Us | Your Editors | Privacy and affiliate policy