If you’ve been scrapbooking for a while, you probably remember the joy of rub-on transfers. No peeling, no sticky fingers, no bulky edges — just press, rub, lift, and admire.
And guess what? DIY rub-on decals are still one of the easiest and most professional-looking embellishments you can add to scrapbook layouts, handmade cards, junk journals, and mixed media projects.
If you’ve ever searched for how to make rub-on decals at home, homemade rub-on transfers for scrapbooking, or DIY transfer lettering for paper crafts, you’re going to love how simple this technique really is.
Let’s break it down in a practical, no-fuss way.
What Are Rub-On Decals?
Rub-on decals (also called rub-on transfers or transfer lettering) are designs that transfer from a printed sheet directly onto a surface using pressure.
Unlike stickers, they:
– Sit completely flat
– Have no visible edge
– Blend seamlessly into paper or painted surfaces
– Look professionally printed
That smooth finish is why they’re so popular for scrapbook titles, custom journaling accents, and decorative quotes on handmade cards.
Why Use DIY Rub-On Transfers Instead of Stickers?
If you love a clean, polished scrapbook layout, rub-on decals are a game changer.
Here’s why crafters still love them:
– Perfect for scrapbook page titles
– Ideal for minimalist card sentiments
– Great for junk journal embellishments
– No glue required
– Fully customizable fonts and quotes
And the best part? You can create custom rub-on decals at home using your own designs, favorite fonts, or even your handwriting.
Supplies Needed to Make Homemade Rub-On Decals
You don’t need a fancy machine for this — just a few simple supplies:
– Laser printer (important for proper transfer)
– Clear transparency or transfer film
– Masking tape
– Burnishing tool (bone folder, popsicle stick, old credit card, spoon)
– Smooth cardstock, scrapbook paper, or painted wood
Quick tip from years at my craft desk: Laser printers work best. Inkjet ink tends to smear and won’t transfer cleanly.
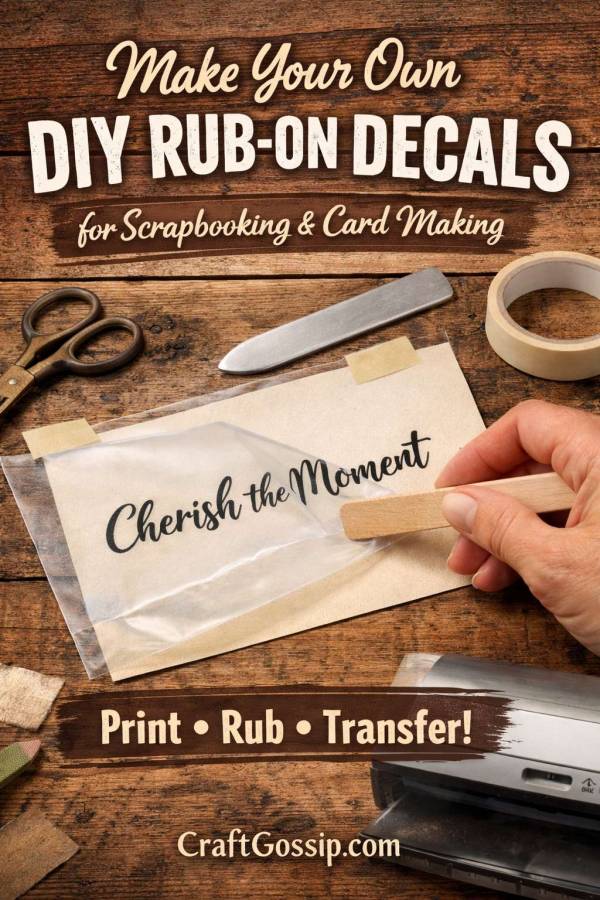
Step-by-Step: How to Make Rub-On Transfers at Home
Step 1: Print Your Design
Choose bold black line art, lettering, or simple graphics. Print onto your transparency sheet using a laser printer.
For best results:
– Use bold fonts
– Avoid delicate shading
– Keep designs crisp and high contrast
This technique works beautifully for custom scrapbook titles and personalized quotes.
Step 2: Position Your Transfer
Place the printed side face down onto your scrapbook page, card front, or wood surface.
Secure one edge with masking tape so it doesn’t shift while you’re rubbing.
Step 3: Burnish the Design
Using firm, even pressure, rub over the entire design with your burnishing tool.
Work slowly and cover every part of the design. This step is where the magic happens — and rushing it is the fastest way to patchy lettering.
Step 4: Reveal the Transfer
Gently lift one corner to check the transfer. If any areas didn’t adhere, lay it back down and rub again.
Once fully transferred, peel away the sheet and admire your custom rub-on decal.
Best Surfaces for Rub-On Decals
DIY rub-on transfers work best on:
– Smooth cardstock
– Scrapbook paper
– Journal pages
– Painted wood
– Glass
– Metal
Avoid heavily textured surfaces, as they can interrupt the transfer process.
Pro Tips for Perfect Rub-On Transfers
After years of scrapbooking and paper crafting, here’s what truly makes the difference:
– Always work on a hard surface
– Keep hands clean and dry
– Use bold, simple designs
– Practice on scrap paper first
– Apply even pressure across the entire image
If you’re making custom scrapbook page titles, test the alignment before fully burnishing — crooked titles are no one’s friend.
Creative Ways to Use DIY Rub-On Decals
Once you start making your own, you’ll find endless uses:
– Custom scrapbook titles
– Planner quotes
– Handmade greeting cards
– Junk journal embellishments
– Wedding signage
– Personalized wood signs
– Seasonal home décor
I especially love using rub-on transfer lettering for farmhouse-style wooden plaques. It gives that stencil look without the stencil mess.
Why Custom Rub-On Transfers Are Worth Making
Store-bought rub-ons are lovely — but making your own means:
– Using your exact font style
– Creating personalized messages
– Matching specific color themes
– Printing family names and meaningful quotes
– Designing seasonal collections
If you’ve ever wished a rub-on sheet had just one more word or the perfect sentiment, this solves that problem instantly.
Common Problems (And How to Fix Them)
Design not transferring fully?
You likely need more pressure or a smoother surface.
Smudging or blurring?
Check that you’re using a laser printer, not inkjet.
Letters breaking apart?
Switch to a bolder font and burnish more evenly.
A Simple Technique That Still Works
In a world of die-cut machines and layered embellishments, there’s something beautifully simple about rub-on decals for scrapbooking and card making.
Print. Rub. Reveal.
It’s one of those classic paper crafting techniques that never really goes out of style — and once you try making your own homemade rub-on transfers, you’ll wonder why you didn’t start sooner.
If you love clean scrapbook layouts, personalized journaling, and easy DIY embellishments, this is one technique worth keeping in your creative toolbox.