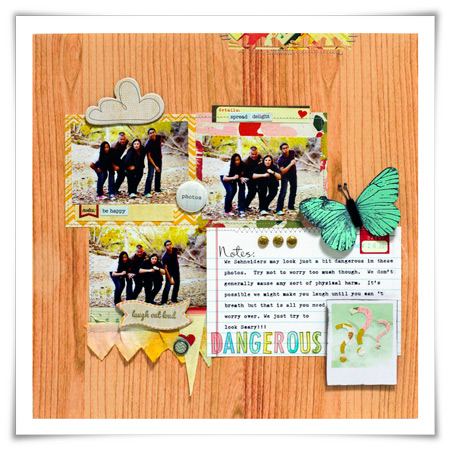
 Dangerous by Ursula Schneider
{GALLERY} {BLOG}
Themes, layouts and inspirations
Dangerous by Ursula Schneider
{GALLERY} {BLOG}
Let’s talk about the part that makes people pause.
You’ve printed your junk journal pages. You’ve layered your ephemera. You’ve folded your signatures.
And then you think… now what?
Binding sounds complicated. It sounds like something that requires special tools and serious bookbinding skills.
It doesn’t.
Binding a junk journal is simply attaching folded pages together in a way that suits your style. That’s it.
If you’ve been searching for:
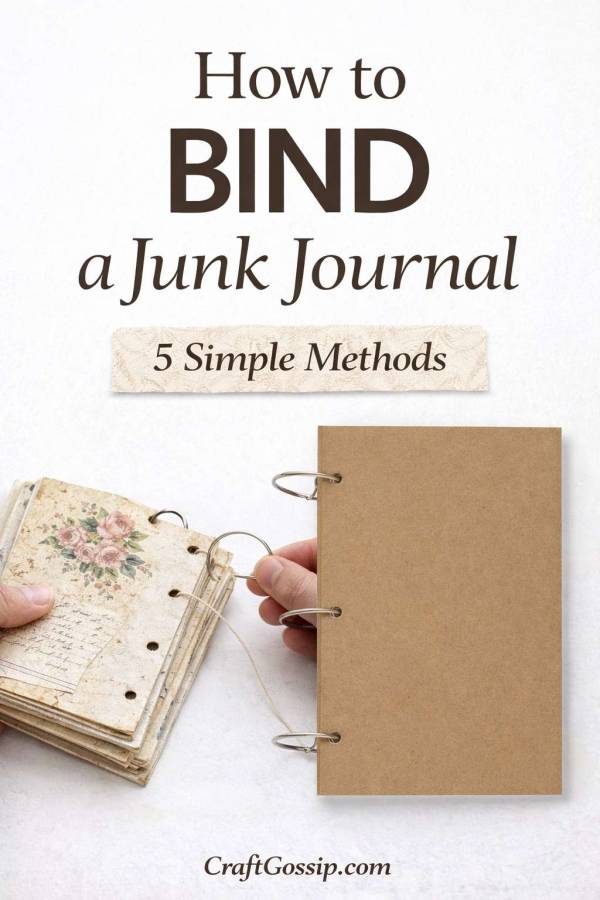
This guide will walk you through five simple junk journal binding techniques you can do at home — no fancy equipment required.
In junk journaling, a signature is a small stack of folded pages nested together.
Most junk journals contain:
Once your signatures are assembled, you bind them into a cover.
Now let’s look at your options.
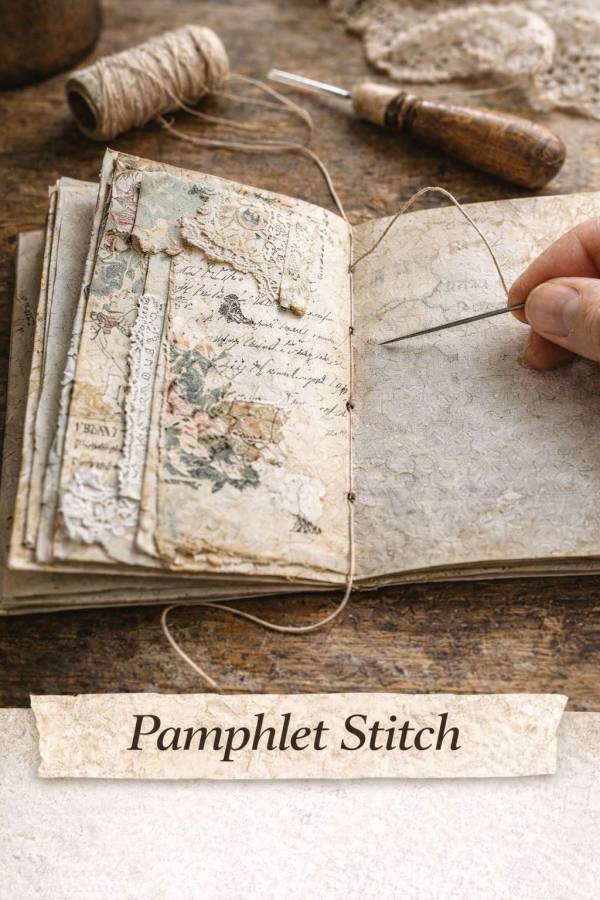
The pamphlet stitch is the most popular junk journal binding method — and for good reason.
It’s sturdy.
It looks beautifully handmade.
It requires only a needle and thread.
What you need:
How it works:
The visible stitching along the spine adds charm and character.
This method works beautifully for:
If you’re brand new, this is a wonderful place to start.
If you want something even more straightforward, the three-hole saddle stitch is a simplified version of the pamphlet stitch.
Steps:
It’s quick, secure, and ideal for:
This is perfect when you just want to get started without overthinking the process.
If stitching feels intimidating, you can skip it entirely.
Ring binding is flexible and beginner friendly.
What you need:
How it works:
Ring-bound junk journals are great for:
This method allows you to rearrange and expand your journal as you go.
If you love a romantic, soft aesthetic, ribbon binding is beautiful.
Instead of permanently stitching the spine, you create a flexible binding using ribbon or fabric strips.
Steps:
This method works wonderfully for:
It also allows the journal to expand naturally as you add embellishments.
If you prefer a neater spine without visible stitching, glue binding is surprisingly effective.
What you need:
How it works:
This method works well for:
It creates a cleaner look and feels less “rustic.”
There isn’t one best method.
It depends on:
If you’re a beginner, start with:
Both are forgiving and easy to adjust.
No matter which method you choose, keep these tips in mind:
The most common mistake beginners make is overstuffing the journal before binding.
Allow your journal to grow naturally.
For beginners:
More signatures mean a thicker spine — so choose your binding method accordingly.
Binding sounds technical — until you try it.
Then you realize it’s simply folded paper and thread.
Junk journaling is meant to feel handmade. Slightly uneven stitching. A ribbon tied imperfectly. Pages that don’t sit perfectly flat.
That’s part of the charm.
Try one method. Then try another. You’ll quickly discover what suits your style — and binding will stop feeling intimidating altogether.


