Let me guess.
You’ve been admiring junk journals online. Watching flip-throughs. Zooming in on stitched spines and layered pages. Thinking, “I want to make one of those.”
But then you sit down and realise… you don’t actually know where to begin.
Not decorate one.
Not add ephemera.
Actually make one.
If you’ve been searching for:
- how to make a junk journal
- junk journal tutorial for beginners
- step by step junk journal guide
- how to assemble a junk journal
- how to bind a junk journal
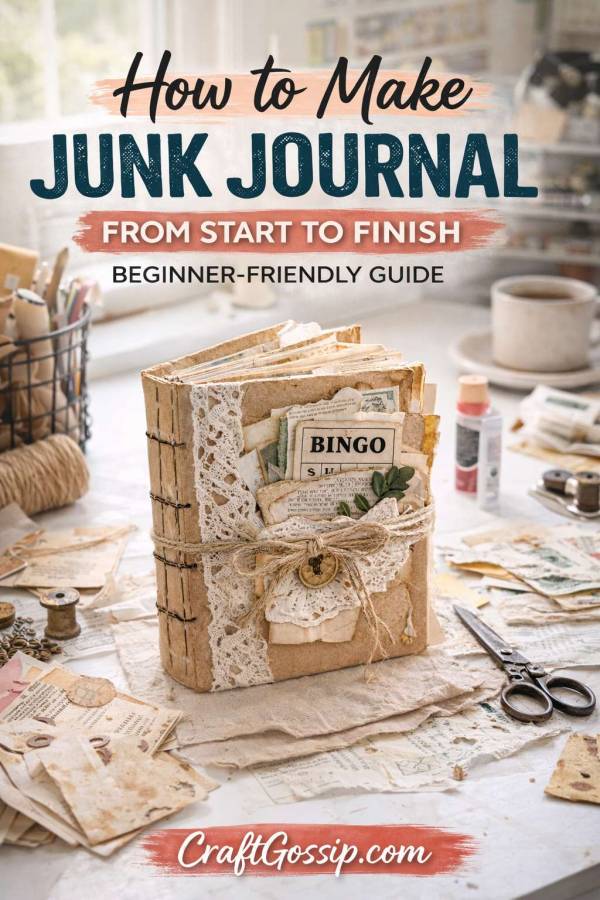
This is your complete, from-start-to-finish guide.
No overwhelm. No fancy tools. No craft-room perfection required.
Just paper, thread, and a little courage.
What Is a Junk Journal (Before We Start)?
A junk journal is a handmade book created from recycled, repurposed, or everyday materials.
It often includes:
- Old book pages
- Scrap paper
- Envelopes
- Greeting cards
- Magazine clippings
- Tea or coffee-dyed paper
- Fabric scraps
- Printable junk journal pages
It’s imperfect. Textured. Layered. Personal.
And every single one looks different.
That’s the beauty of it.
Step 1: Decide on the Size
This is where beginners often stall — thinking there’s a “right” size.
There isn’t.
If you want easy? Fold regular A4 or letter-size paper in half. That’s a perfect beginner size.
Other popular junk journal sizes include:
- A5 (half of A4 folded)
- Traveler’s notebook size
- 5×7 inches
- 6×9 inches
Start simple. You can always experiment later.
Step 2: Make or Choose a Cover
You don’t need specialty chipboard or bookbinding supplies.
You can use:
- Cereal box cardboard
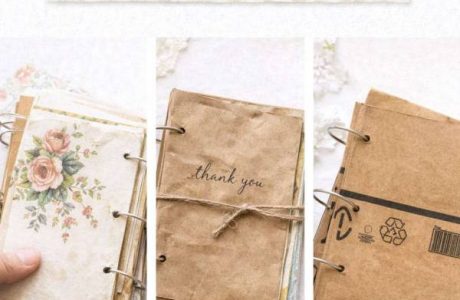
- Brown paper bags
- Amazon shipping boxes
- Old greeting cards
- File folders
Cut to size. Fold in half.
If you want it sturdier, glue two layers together and let dry under books.
That’s your cover sorted.
Step 3: Gather Your Pages
This is the fun part.
You want a mix of paper types for texture and interest.
Look for:
- Old paperback book pages
- Lined notebook paper
- Scrapbook paper scraps
- Sheet music
- Magazine pages
- Printable junk journal pages
- Tea-dyed or coffee-stained paper
- Ledger pages
Mix thin and thick paper. Plain and patterned.
Variety gives your junk journal depth.
Step 4: Create Signatures
Fold each page in half.
Stack 4–8 folded sheets together.
That stack is called a signature.
For beginners:
- 1 signature = simple journal
- 2–3 signatures = fuller journal
Don’t overstuff them yet. Junk journals grow over time.
Step 5: Bind the Junk Journal
Now we turn loose pages into a book.
You have several easy options:
Pamphlet stitch
Three-hole saddle stitch
Binder rings
Ribbon tie binding
Glue spine method
If you’re new, the pamphlet stitch is ideal.
How to do it:
- Place your folded signature inside the cover.
- Punch three evenly spaced holes along the fold.
- Stitch through the holes (middle ? bottom ? top ? back to middle).
- Tie securely.
That’s it. You’ve just bound a junk journal.
Step 6: Add Pockets and Tuck Spots
This is where it starts looking magical.
You can create pockets from:
- Envelopes glued on three sides
- Scrap paper rectangles
- Folded page corners
- Paper bag pieces
Slip in:
- Handwritten notes
- Tags
- Quotes
- Ticket stubs
- Receipts
Hidden elements make junk journals interactive and layered.
Step 7: Age Your Pages (Optional but Beautiful)
If your paper feels too bright or modern, aging it instantly softens the look.
You can:
- Brush strong black tea across pages
- Dip paper in cooled coffee
- Lightly ink edges with brown distress ink
Tea creates a soft golden warmth.
Coffee gives deeper antique tones.
Even lightly crumpling paper adds character.
Step 8: Decorate Simply
You don’t need elaborate embellishments.
Start with:
- Twine wrapped around the spine
- Fabric scraps
- Buttons
- Dried leaves
- Handwritten journaling
The key is layering — not perfection.
Leave blank space for writing later.
Common Beginner Mistakes
Trying to make it look “perfect.”
Overstuffing signatures before binding.
Using very thin paper that tears easily.
Buying too many supplies before learning the basics.
Start small.
Let your skills grow naturally.
What You Actually Need
You need:
Paper
Thread
Glue
Scissors
That’s enough to make a junk journal.
Everything else is optional.
How Long Does It Take to Make a Junk Journal?
Your first one?
Maybe an afternoon.
Your second one?
Probably quicker.
Once you understand the steps — fold, stack, bind, layer — it becomes intuitive.
Why This Guide Makes It Simple
Most tutorials show a finished journal and say, “Isn’t this pretty?”
This guide walks you through:
Planning
Cover creation
Page selection
Signature building
Binding
Layering
Aging
Decorating
From start to finish.
That’s how you remove confusion.
And when beginners feel confident, they stay.
Final Thoughts
Making a junk journal isn’t complicated.
It’s folded paper and thread.
It’s layers and texture.
It’s permission to be imperfect.
Start simple.
Bind one signature.
Glue down a page.
Add a pocket.
Your first junk journal doesn’t need to impress anyone.
It just needs to exist.
And once you make one?
You’ll start seeing potential journal pages everywhere.