Simple Junk Journal Binding Techniques You Can Do at Home
Let’s talk about the part that makes people pause.
You’ve printed your junk journal pages. You’ve layered your ephemera. You’ve folded your signatures.
And then you think… now what?
Binding sounds complicated. It sounds like something that requires special tools and serious bookbinding skills.
It doesn’t.
Binding a junk journal is simply attaching folded pages together in a way that suits your style. That’s it.
If you’ve been searching for:
- how to bind a junk journal
- easy junk journal binding methods
- beginner junk journal stitching
- how to assemble junk journal signatures
This guide will walk you through five simple junk journal binding techniques you can do at home — no fancy equipment required.
Before You Start: What Is a Signature?
In junk journaling, a signature is a small stack of folded pages nested together.
Most junk journals contain:
- 1 to 4 signatures
- 4 to 8 folded sheets per signature
- A mix of printable junk journal pages and scrap paper
Once your signatures are assembled, you bind them into a cover.
Now let’s look at your options.
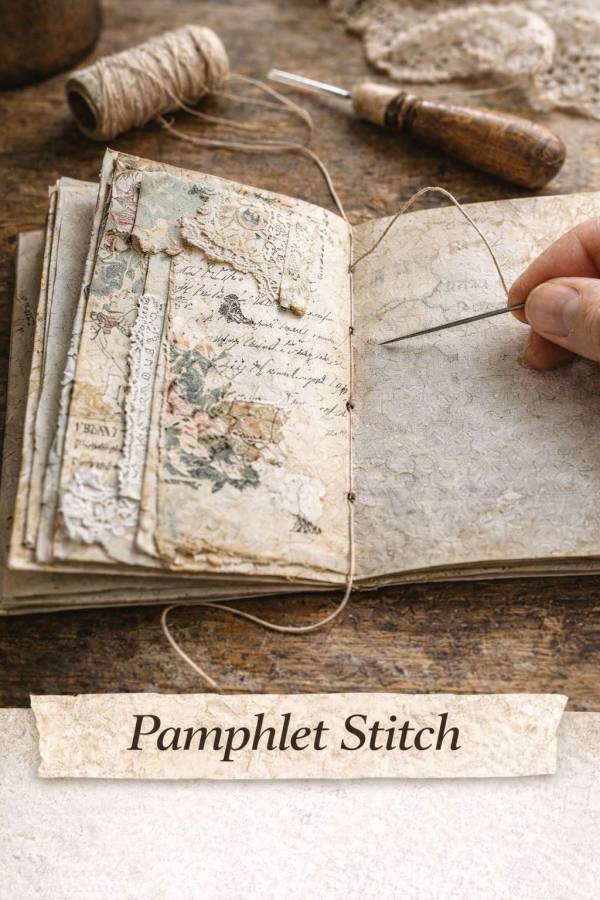
1. Pamphlet Stitch (Classic and Beginner Friendly)
The pamphlet stitch is the most popular junk journal binding method — and for good reason.
It’s sturdy.
It looks beautifully handmade.
It requires only a needle and thread.
What you need:
- Needle
- Strong thread or embroidery floss
- Awl or thick needle for poking holes
How it works:
- Place your folded pages inside your cover.
- Poke three evenly spaced holes along the fold.
- Stitch through the holes in this order: middle, bottom, top, back to middle.
- Tie off neatly in the center.
The visible stitching along the spine adds charm and character.
This method works beautifully for:
- Vintage junk journals
- Botanical printable kits
- Small themed journals
If you’re brand new, this is a wonderful place to start.
2. Three-Hole Saddle Stitch (Even Simpler)
If you want something even more straightforward, the three-hole saddle stitch is a simplified version of the pamphlet stitch.
Steps:
- Fold your pages into a single signature.
- Punch three holes along the spine.
- Thread through from one end to the other.
- Tie securely in the center.
It’s quick, secure, and ideal for:
- Small journals
- Practice projects
- Quick printable junk journal kits
This is perfect when you just want to get started without overthinking the process.
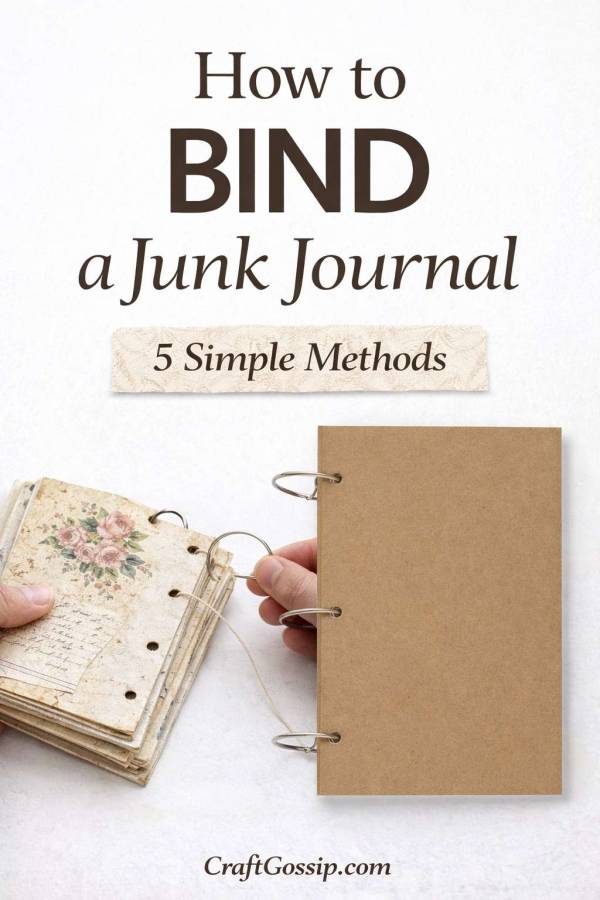
3. Ring-Bound Junk Journal (No Sewing Required)
If stitching feels intimidating, you can skip it entirely.
Ring binding is flexible and beginner friendly.
What you need:
- Binder rings
- Hole punch
How it works:
- Punch holes along the edge of your pages.
- Insert binder rings.
- Add or remove pages anytime.
Ring-bound junk journals are great for:
- Evolving journals
- Interactive journals
- Printable junk journal kits with lots of add-ins
This method allows you to rearrange and expand your journal as you go.
4. Ribbon or Fabric Tie Binding (Soft and Decorative)
If you love a romantic, soft aesthetic, ribbon binding is beautiful.
Instead of permanently stitching the spine, you create a flexible binding using ribbon or fabric strips.
Steps:
- Punch holes along the spine.
- Thread ribbon or torn fabric through.
- Tie loosely into bows.
This method works wonderfully for:
- Cottagecore junk journals
- Vintage floral themes
- Lace-heavy or shabby chic styles
It also allows the journal to expand naturally as you add embellishments.
5. Glue Spine Method (Clean and Modern)
If you prefer a neater spine without visible stitching, glue binding is surprisingly effective.
What you need:
- Strong craft glue or bookbinding glue
- Clips or clamps
- Scrap paper for protection
How it works:
- Stack folded signatures tightly together.
- Clip them firmly along the spine.
- Apply glue evenly across the spine.
- Allow to dry completely.
- Attach the glued spine to your cover.
This method works well for:
- Modern-style junk journals
- Printable junk journal kits
- Journals with lighter embellishments
It creates a cleaner look and feels less “rustic.”
Which Junk Journal Binding Method Is Best?
There isn’t one best method.
It depends on:
- Your journal theme
- How bulky your pages are
- Whether you want visible stitching
- Whether you want to add pages later
If you’re a beginner, start with:
- Pamphlet stitch for a traditional look
- Ring binding for flexibility
Both are forgiving and easy to adjust.
Tips for Stronger Junk Journal Binding
No matter which method you choose, keep these tips in mind:
- Use 24lb to 28lb paper for durability
- Don’t overfill your signatures
- Leave space for embellishments
- Test hole placement on scrap paper first
- Pull thread snug, but not tight enough to tear paper
The most common mistake beginners make is overstuffing the journal before binding.
Allow your journal to grow naturally.
How Many Signatures Should a Junk Journal Have?
For beginners:
- 1 signature is simplest
- 2 signatures feel balanced
- 3 to 4 signatures create a fuller journal
More signatures mean a thicker spine — so choose your binding method accordingly.
Final Thoughts on Binding a Junk Journal
Binding sounds technical — until you try it.
Then you realize it’s simply folded paper and thread.
Junk journaling is meant to feel handmade. Slightly uneven stitching. A ribbon tied imperfectly. Pages that don’t sit perfectly flat.
That’s part of the charm.
Try one method. Then try another. You’ll quickly discover what suits your style — and binding will stop feeling intimidating altogether.