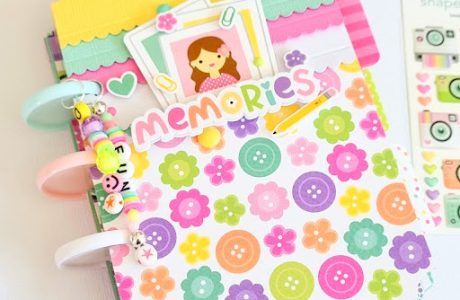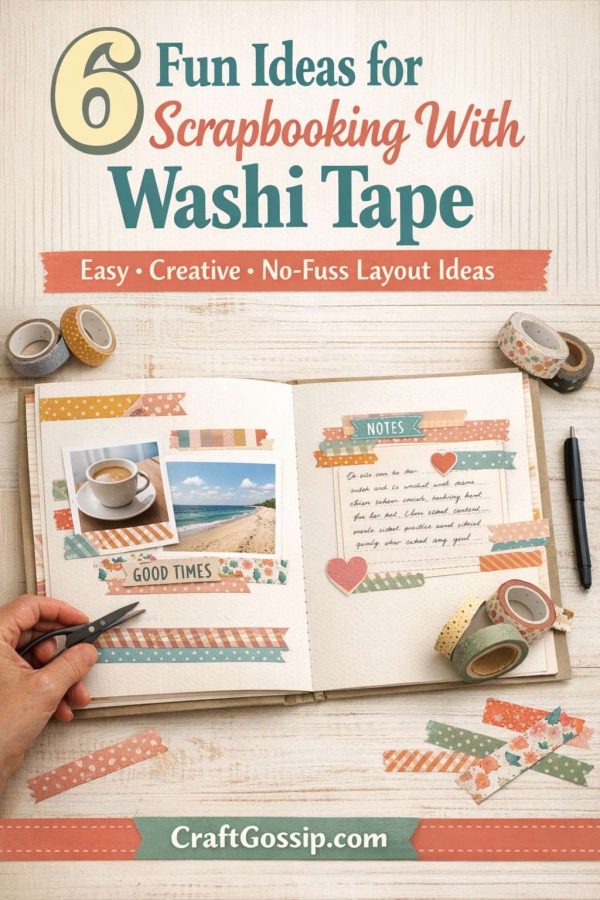
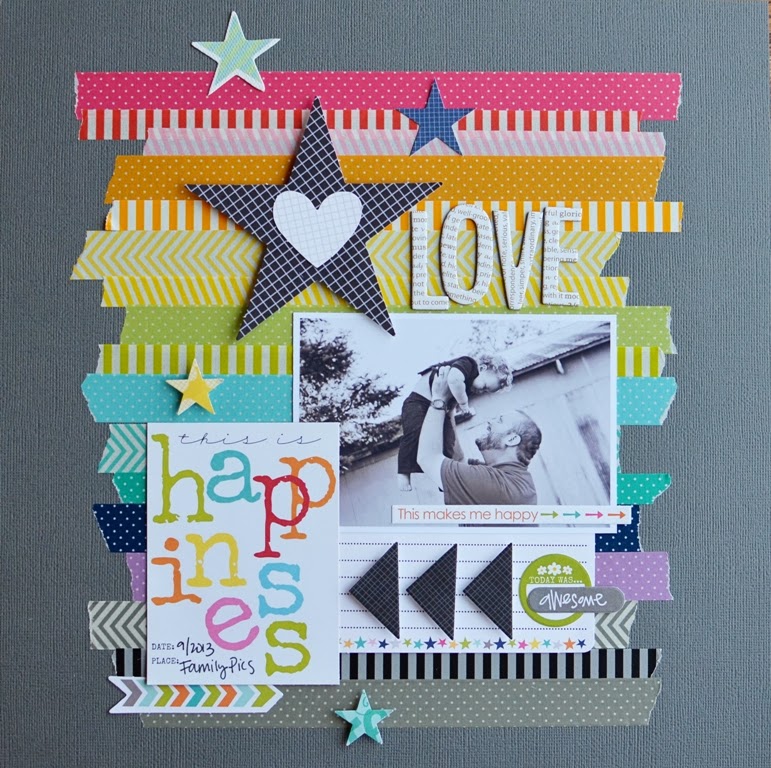
Have you tried scrapbooking with washi tape? Discover 6 clever ideas for using this addicting adhesive for fast & fun scrapbook layouts.
Create different backgrounds, make journaling cards, use to attach photos and much more.
These ideas will help you to use up that stash. or entice you to buy even more washi!
Source: Scrapbooking With Washi Tape: 6 Fun Ideas
If you’ve been scrapbooking longer than five minutes, you’ve probably got a drawer (or let’s be honest, a whole box) of washi tape. It’s one of those supplies we love buying… and then somehow forget to use properly. I’ve been guilty of hoarding the “too pretty to cut” rolls for years, until I finally decided to stop saving them for “special pages” that never come.
Scrapbooking with washi tape is one of the easiest ways to add colour, texture, and personality without dragging out half your craft room. It’s forgiving, repositionable, and perfect for those days when you want something that looks finished without fuss.
This guide goes deeper than the usual “stick tape here” advice. These are practical, realistic washi tape scrapbooking ideas that work whether you’re documenting everyday life, memory keeping with kids, or finally tackling that half-finished album on the shelf.
Why Washi Tape Belongs in Every Scrapbook
Washi tape earns its keep because it’s flexible in every sense of the word.
It tears by hand, layers beautifully, and doesn’t commit you to anything permanent until you’re ready. For scrapbookers who change their minds mid-page (me), that alone makes it gold.
It’s also ideal for:
- Fast layouts when time is short
- Older hands that don’t love fiddly glue dots
- Adding pattern without bulky embellishments
- Mixing modern and nostalgic styles
And if you scrapbook with children or grandchildren, washi tape is one of the few supplies you can hand over without panic.
Easy Washi Tape Scrapbooking Ideas That Look Thoughtful (Not Slapped On)
1. Use Washi Tape as a Design Anchor
Instead of scattering tape randomly, choose one roll to anchor your page. Run it horizontally across the layout, down one side, or diagonally behind your photo cluster. Everything else can build off that one strip.
This works especially well for busy patterned tape that might feel overwhelming on its own.
2. Frame Photos Without Bulky Mats
Washi tape makes the perfect photo border when you want definition without thickness.
Try:
- A thin tape layered just on the top and bottom edges
- Two contrasting tapes overlapped slightly
- Tearing the ends instead of cutting for a softer look
It’s a great alternative if traditional cardstock mats feel too heavy or dated.
3. Create Faux Stitching With Washi Tape
If you love the look of stitched pages but hate hauling out the sewing machine, washi tape is your shortcut.
Lay a narrow strip where stitching would normally go and let it act as visual texture. This works beautifully around page edges, journaling blocks, or photo mats.
4. Make Washi Tape Tabs and Flags
This is one of my most-used techniques because it’s both decorative and practical.
Fold a short strip over the edge of a photo, journaling card, or page edge to create a tab. You can:
- Use it to highlight dates or names
- Layer tabs for colour repetition
- Add a tiny word sticker on top
Perfect for planners, memory albums, and Project Life–style pages.
5. Use Washi Tape for Journaling Lines
If ruled journaling cards feel too structured, washi tape can guide your writing without boxing you in.
Lay thin strips as subtle lines or borders, then write directly on the page. It adds colour while keeping your handwriting grounded and readable.
Scrapbooking With Washi Tape for Everyday Memories
Not every scrapbook page needs to be “special occasion worthy.” Washi tape shines in everyday memory keeping because it’s quick and flexible.
Use it to:
- Secure ticket stubs or kids’ drawings
- Add colour to grocery-day photos or school moments
- Mark seasons, months, or routines
- Separate stories on the same page
These small uses add up and make albums feel lived-in rather than staged.
Mixing Washi Tape With Other Scrapbook Supplies
Washi tape plays nicely with almost everything.
It looks especially good paired with:
- Kraft cardstock for a warm, nostalgic feel
- Black-and-white photos for contrast
- Handwritten journaling
- Simple die cuts or alphabet stickers
If your page feels flat, layering two or three coordinating tapes instantly adds depth without clutter.
Common Washi Tape Scrapbooking Mistakes (And How to Fix Them)
Using too many patterns at once
Stick to a colour family and vary scale instead of piling on different designs.
Perfectly straight edges everywhere
Tear a few ends or slightly angle strips to keep things relaxed and organic.
Saving the “good” tape
Use it. Washi tape doesn’t get better sitting in a drawer, and memories don’t wait.
A Real-Life Scrapbooking Tip From My Table
I keep a small bowl of pre-torn washi strips on my desk when I’m scrapbooking in short bursts. It sounds simple, but having tape ready to go means I actually use it instead of skipping embellishing altogether. It’s one of those tiny habits that makes finishing pages easier.
Why Washi Tape Is Still a Scrapbooking Staple
Trends come and go, but washi tape has stuck around for a reason. It’s approachable, affordable, and endlessly adaptable. Whether your style leans modern, vintage, minimalist, or somewhere comfortably in between, scrapbooking with washi tape lets you create pages that feel personal without being precious.
If you’ve been staring at your washi stash wondering how to use it “properly,” this is your sign. Tear into it. Your scrapbook pages will thank you.