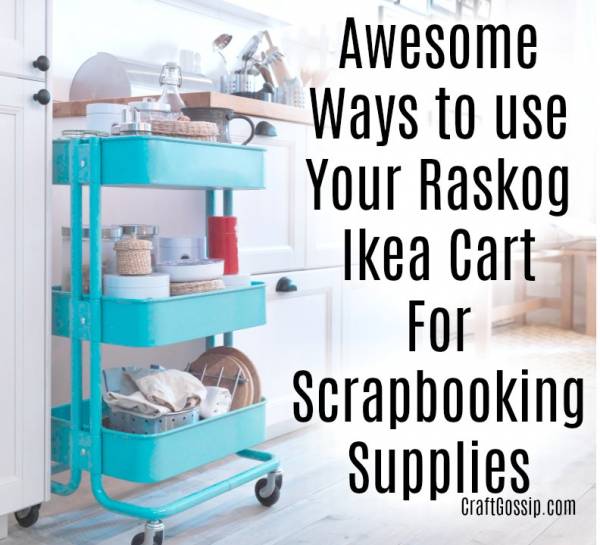
Have you got the awesome Raskog cart from Ikea and are looking for ways to utilize it better? (If you do, I am jealous, it’s on my wish list!). Elizabeth at Eternally Inspired Mama compiled these 21 ideas of ways to organize your scrapbooking supplies in the Ikea cart. You’ll find tips for Project Life Cards, die-cut supplies, washi tape, photos, as well as ways to increase the storage space by hanging baskets and bins. What a great way to create your own DIY rolling craft cart. An organized area is a creative area.
I think it might be time for a trip to Ikea!
You can use it to store your Project Life cards in a neat and organized manner.
(VIA INSIDE THE CRAFTER’S STUDIO)
My Big Shot takes up a lot of space, so I’d like to have it sit on its own cart and have the bulky die-cutting supplies underneath.
(VIA CRAFTY GOODIES)
I love the idea of a “catch-all” for all those tiny and small scrapbook supplies
(VIA LIFE MADE CREATIONS)
I don’t think I could ever be this organised but if you like having your photos printed in advance you can just grab-and-go when you’re ready to scrapbook, you can fit a ton of photos in thesel photo boxes inside the Raskog.
(VIA A BOWL FULL OF LEMONS)
There are all kinds of baskets and containers you can hang off the sides of the Raskog cart. Some of the smaller ones make perfect holders for items that you use regularly like tape, stamps and scissors.
(VIA FINDING NANA)
Longer wire baskets are terrific for holding your washi tape and other small embellishments.
(VIA STEMPELWIESE)
The very top shelf of the Raskog cart has no height limitations it is a perfect place to store scrapbook kits.
(VIA LIST GIRL)
Taller sticker sheets like letter stickers can be placed on the top level. I prefer a tall box to help support the sheets too.
(VIA SCRAPBOOK.COM)
You can buy small magnetic jars from ikea that stick to the side of your cart. These are perfect for teeny tiny embellishments like small brads, sequins and other little bits and pieces you may need for your trolley.
(VIA STUDIO JEE)
If you use a lot of brads and dimensional embellishments consider filling up your cart with small baby food jars packed with them.
(VIA STUDIO CALICO)
The Raskog doesn’t have to look industrial,You can store your supplies in pretty containers and decorative baskets. Use those embellishments to embellish up your Raskog cart.
((VIA CARD GROTTO)
12×12 paper can be easily stored upright on the top shelf of the cart.
(VIA THE PICNIC BASKET)
Two rows of 6×6 paper pads fit perfectly in the top shelf of the Ikea cart as well.
(VIA KAT’S SCRAPPY, BLOGGY LIFE)
Magnetic paper clips are another great way to hang embellishments off the side of the cart, perfect for those hangsell bags of stickers and brads. If you grab a strong magnet you can hang almost anything off the side. These hanging cup style organizers are perfect too.
(VIA SCRAP IMPULSE)
If you use a lot of stamp, inks and sponges, you can keep all your colors organized with the Raskog cart.
(VIA NICOLE WRIGHT DESIGNS)
If you have a lot of punches you may want to consder giving them their own cart. Punches are heavy to carry around from room to room, but wheeling them on the Raskog makes them organized and easy to move.
(VIA CHERYL’S STAMPING CORNER)
Some scrappers like to make their own kits, you can turn the upper top shelf of your Raskog cart into a filing system that stores your items but color or style.
(VIA CRAFTS ON THE RUN)


can’t find the article ?
Dianna, this post is a couple years old, looks like it’s no longer available.
-Heather