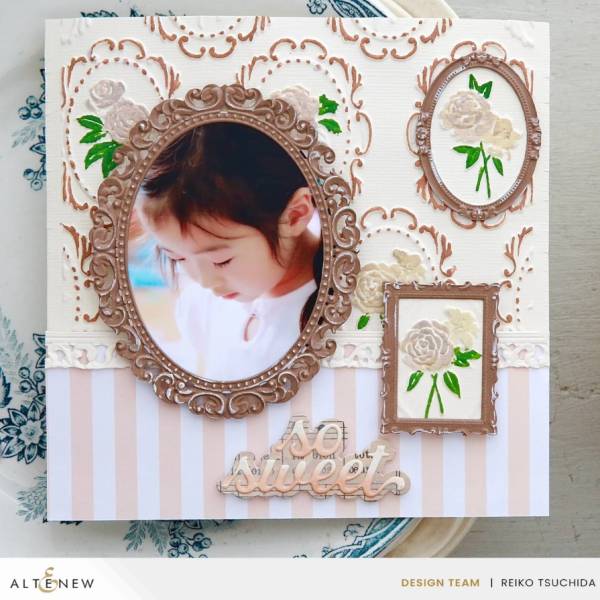
Some companies have products that work together to die cut and emboss like these amazing frames Reiko used on her design. She added a light touch of white paint to help the texture of the frames really pop. In addition to the photo she also included dry embossed flowers in two smaller frames. Find more info at the Altenew blog.
Looking for an easy way to draw attention to certain elements on your scrapbook layout? Using frames are a great way to draw in the eye. But first let’s talk about the difference between a frame and a matt, a frame has an opening and goes over a photo and a matt has no opening, it’s slightly larger than the photo and it goes behind the photo. They both add an element around the photo (or other embellishments) but a frame usually has some thickness to it which I think helps catch more attention and stands out a bit more than a matt. Let’s look at some fun and unique ways to utilize frames on our layouts.
Below each photo is a link, click it to find more info like products used, tips and tutorials.
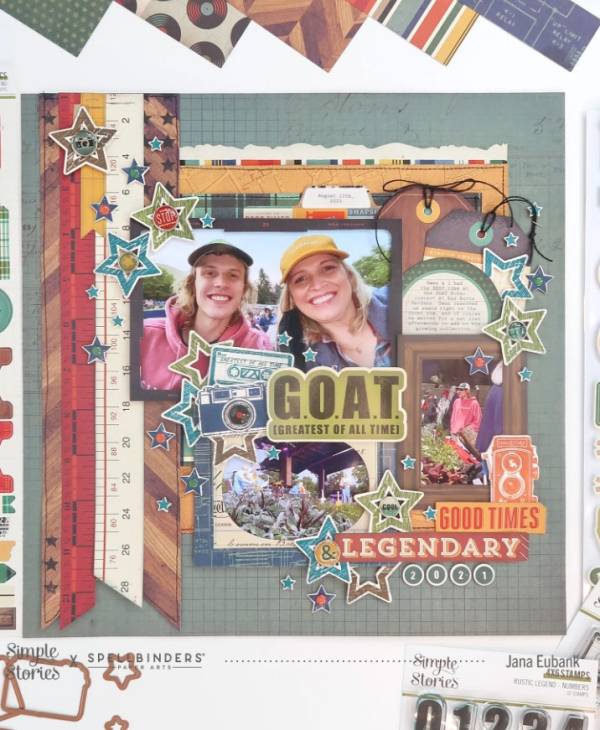
Jana used a couple of different pre-printed frames in woodgrain, blueprint and photo negative inspired designs to draw attention to the 3 photos on her page. She also included lots of other rustic elements and lots of fun stamped accents in colors and pattern that work really well with the rest of the design. She breaks it all down at the Simple Stories blog.
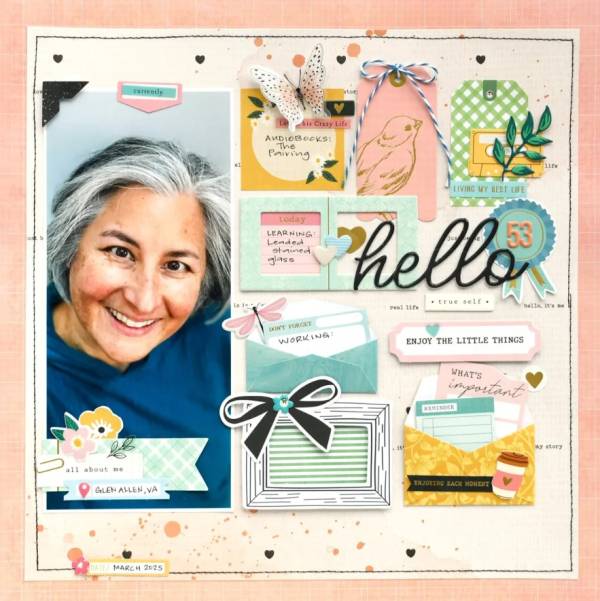
Suzanna used chipboard frames as embellishments on her layout as well as framing her simple journaling. The thickness of chipboard makes it ideal for frames. She also added lots of depth and texture with envelopes to hold notes, buttons, tied twine on a tag, a 3D butterfly and some stitching. Learn more at the Spellbinders blog.
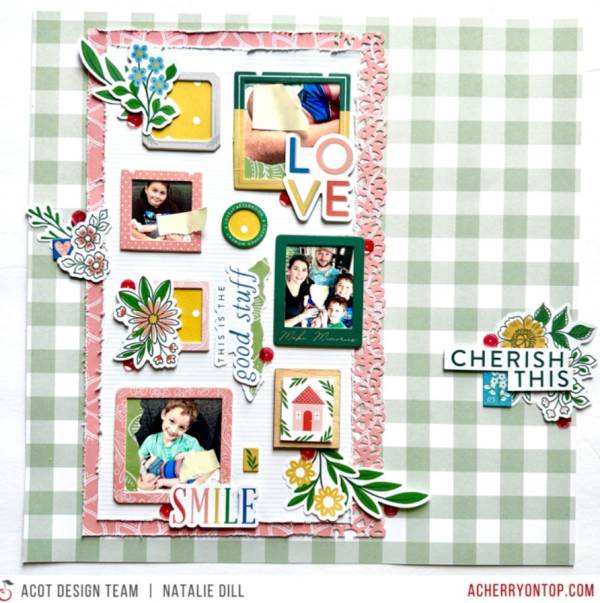
Natalie used lots of chipboard frames too, printed with pretty patterns. She kept most of the action to one side of the page with a tall and wide strip of die cut edged paper and a layer of white to place all the frames on. She accented everything with small sprigs of flowers and an offset title on the other side on plaid green paper. Take a closer look on The Cherry on Top blog.
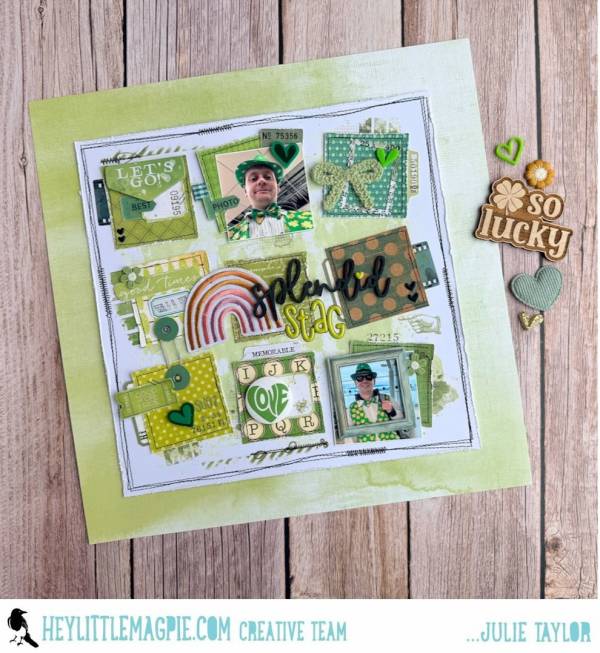
You can even just add one small frame, in this case Julie used one on her grid style layout to highlight a single small photo. This monochromatic green layout has so many fun elements layered in each grid section, with many cool mixed media embellishments and lots of sewing. Find out more at the Hey Little Magpie blog.
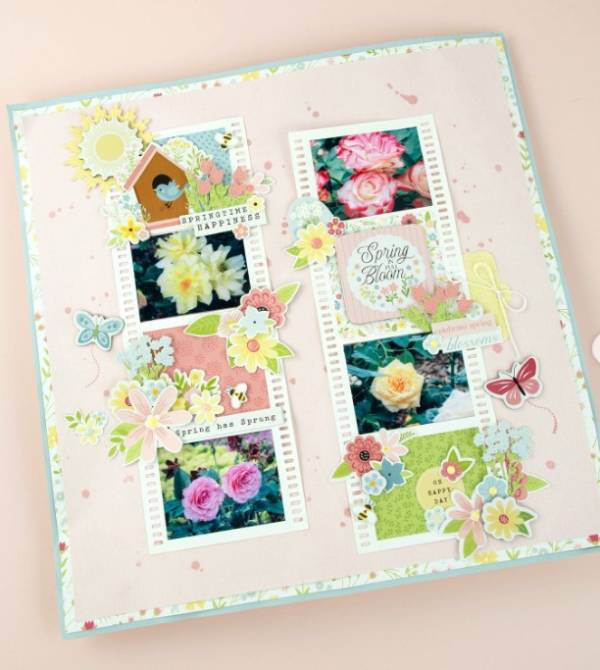
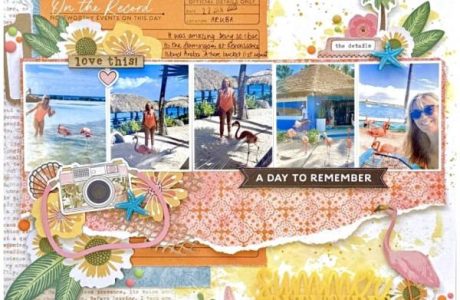
Long film strip dies are a fun way to frame all the photos on a layout like this pretty floral layout design. Some of the openings also have pattern paper with words and embellishments. There’s also many clusters of printed florals with fluttering butterflies and bees as well. I spotted this idea on the Echo Park Paper Instagram page.
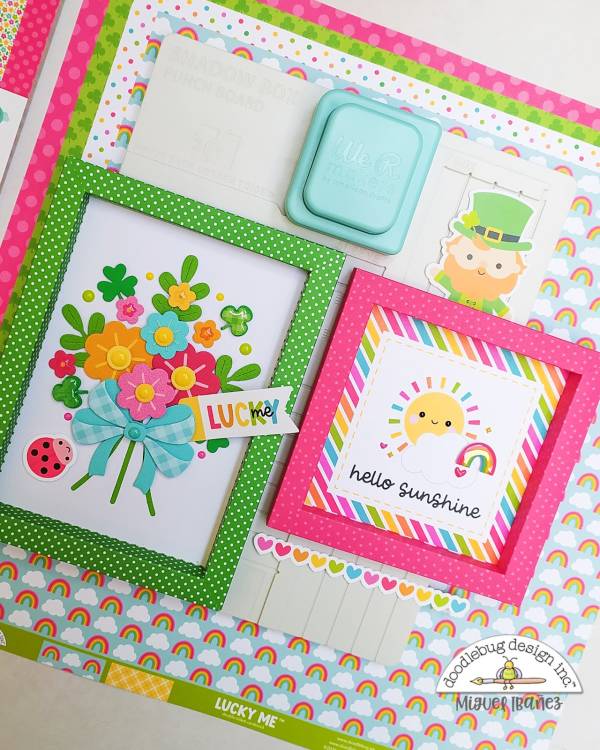
There’s also neat tools out there that allow you to quickly and easily make your own frames. Miguel used the Shadow Box Punch Board tool to create his own frames cut from pattern papers to create thick 3D frames perfect for framing embellishment clusters or photos on layouts and greeting cards. Take a closer look at the Doodlebug blog.
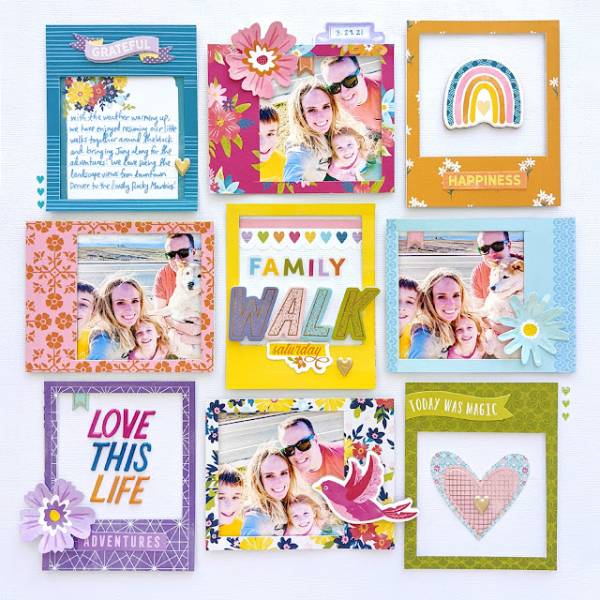
You can also use your paper trimmer to cut pattern paper into frames like Paige did here, hers look like retro printed Polaroid frames. Notice how she turned the frames different ways and added lots of photos, journaling, small words and embellishments to the inside and edges of each. She has directions on how to cut these out over on the Paige Taylor Evans blog.
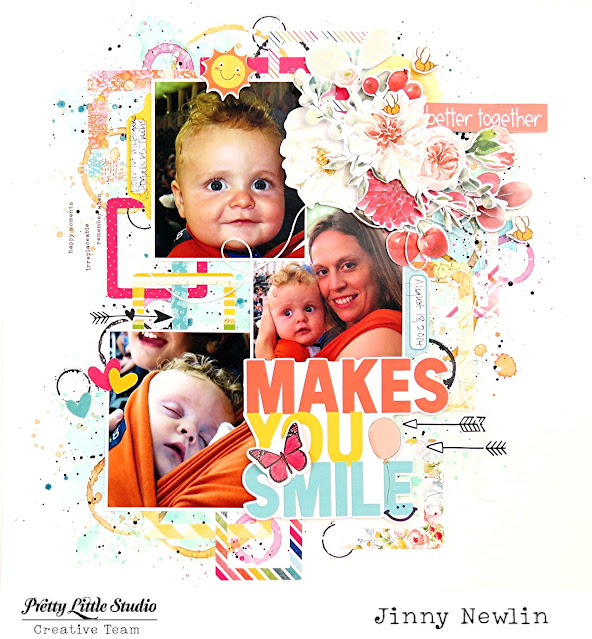
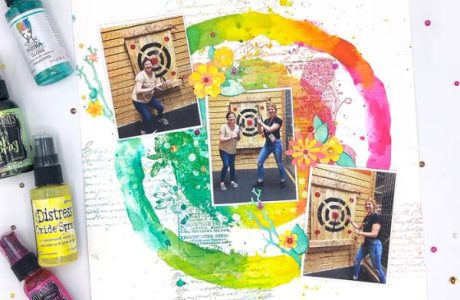
Frames don’t even have to frame anything, Jinny used almost a dozen of them to create an amazing background by layering and over lapping them on a watercolor splattered and stamped panel. It makes an exciting and dynamic pattern! She placed her photos, titles and floral embellishments all over top the fun mixed media background. Find more info at the Pretty Little Studio blog.
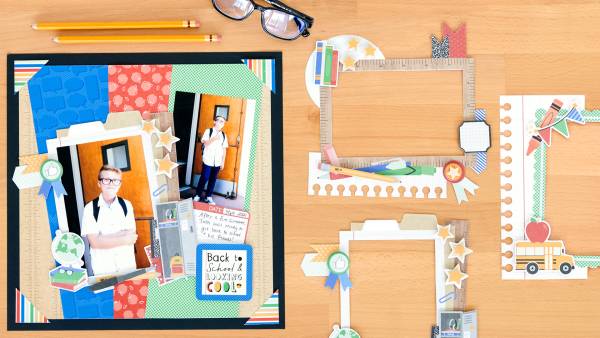
Noreen combines frames with clusters of embellishments from some amazing school days frames, perfect for those back to school or picture day photos. Notice how lots of the elements go over the edge of the frame and are layered and turned for added interest. Take a closer peek at the Creative Memories blog.
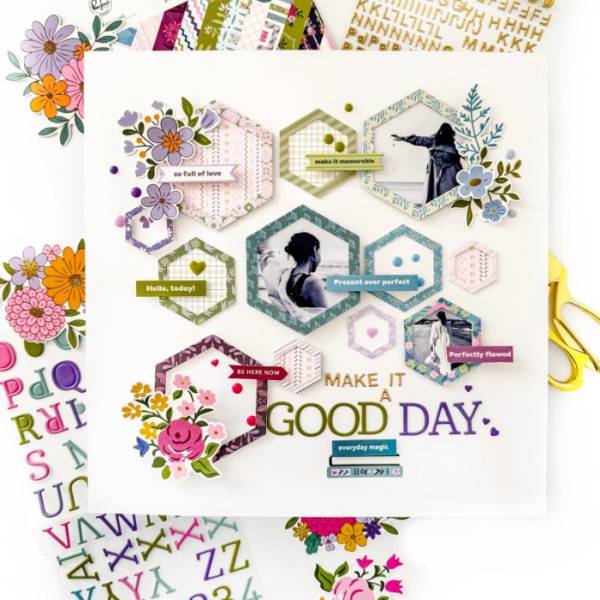
Frames don’t have to be simple squares or rectangles, try different shapes like Susi did here. She used lots of hexagon shaped chipboard frame stickers all over her layout, placing photos behind some, pattern paper behind others and a few have simple domed gems. The design also has lots of sentiment strips and floral clusters too. Find step by step directions at the Pinkfresh Studio blog.
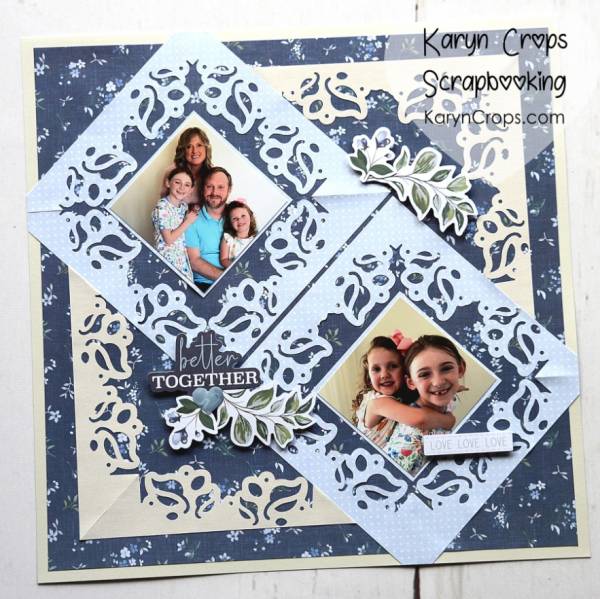
There’s also fun punches that will give you some beautiful frames with lots of delicate details like Karyn used. She punched her frames from pale blue pattern paper to go around the photos as well as off white for two corners over a dark navy pattern paper background so they really pop. Watch her process video at the Karyn Crops blog.
I hope you’ve been inspired to include some fun frames on your next scrapbook layout!
-Heather
You can shop some of our affiliate companies mentioned in this post: