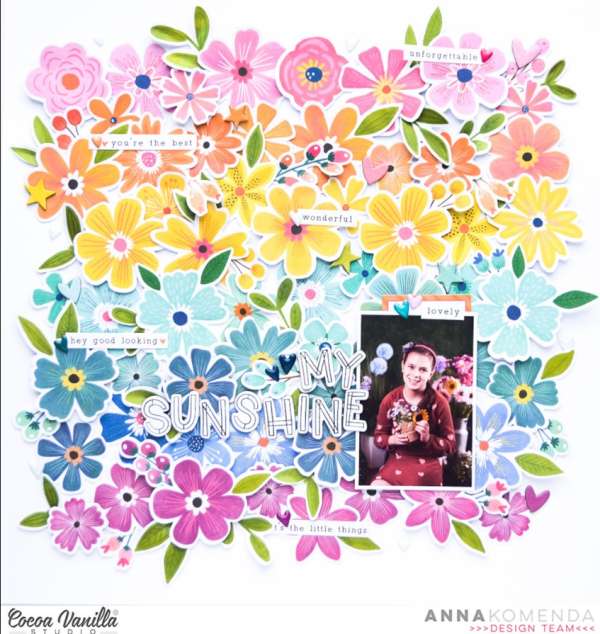
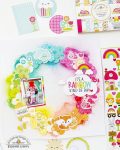
This beautiful layout from Anna has a rainbow of colors made from rows and rows of flowers in similar shades. This is a terrific way to add lots of color to a design. I love the little sentiment strips she added here and there too! Learn more at the Cocoa Vanilla blog.
All the rain we’ve been getting lately is good for all the Spring flowers and it’s also good for creating Rainbows. Springtime is the perfect time to incorporate rainbows of color into your scrapbook layouts! Whether you use bold and bright or soft and pastel, rainbows can work for so many different styles and occasions. You also don’t need to use a traditional arched rainbow design, try using colors arranged like a rainbow with colorful cardstocks, ink blending and other techniques. Take a look somewhere over the rainbow with me at these beautiful Rainbow inspired Scrapbook layout ideas.
Beneath each photo you’ll see a link, click it to learn more like products used, techniques and tips.
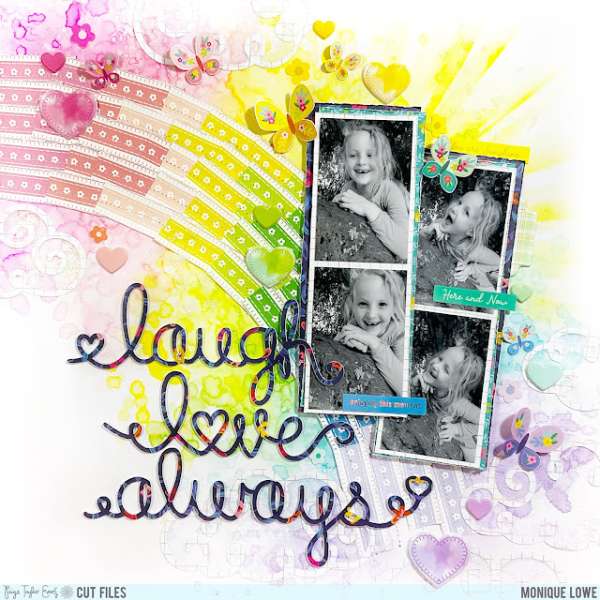
This stunning mixed media page from Monique uses Distress Ink Cubes and water to add color in sections down the arch she created, notice how the colors spread out onto the background too. There’s also sweet little embellishments like hearts and butterflies in the same colors too. Learn more at the Paige Taylor Evans blog.
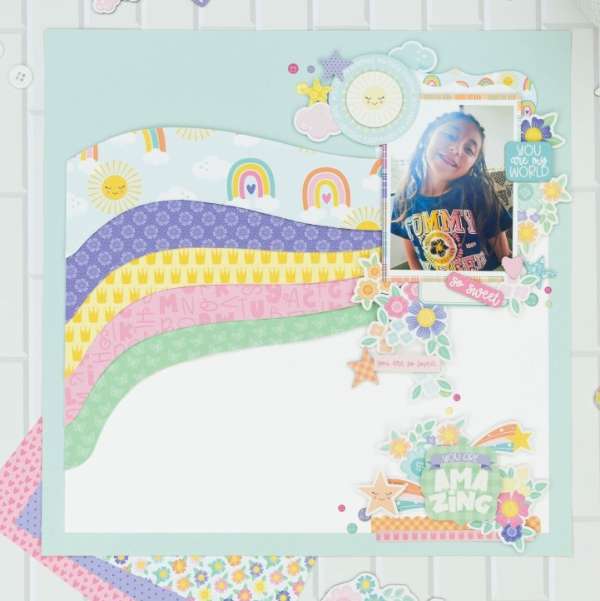
This fun page has rainbow waves created from pastel pattern papers coming out from behind the photo, it’s easy to free hand cut simple patterns like this using scissors. There’s also loads of clusters of cute embellishments in cute girly themes. I spotted this idea on the Echo Park Paper Instagram page.
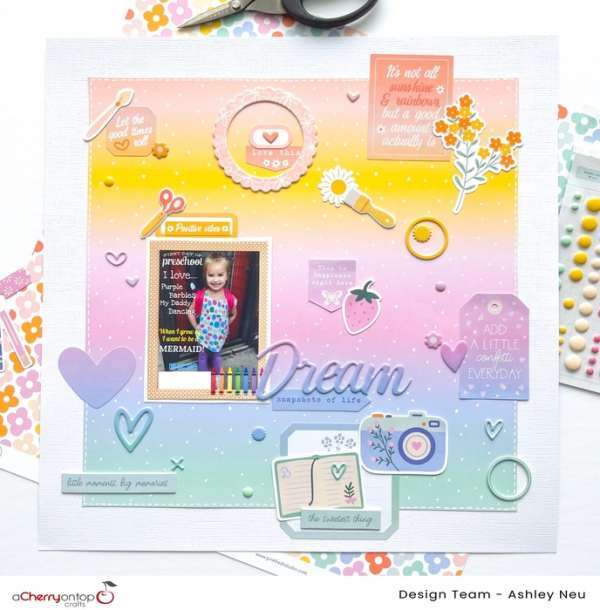
There are lots of pattern papers that are already printed in a rainbow theme like this one Ashley used for easy designs. She picked out darling embellishments in colors that matched the paper sections for a seamless rainbow all the way down. Take a closer look at The Cherry on Top blog.
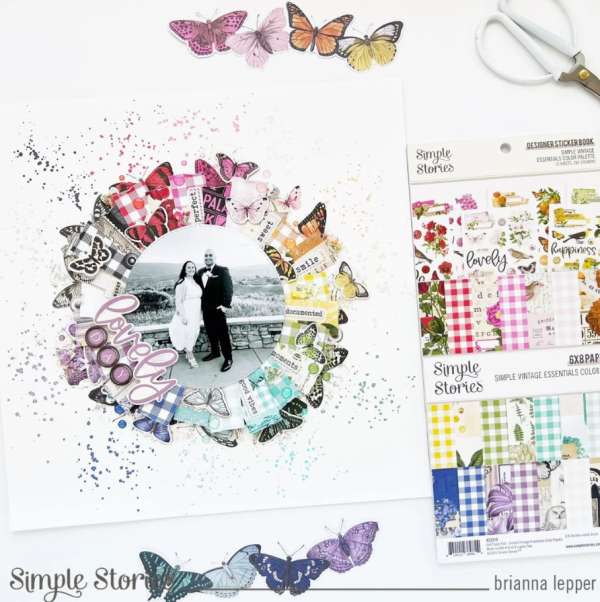
Wow, this layout from Brianna is amazing! She created a rainbow circling the photo made from strips of plaid paper, sentiments on labels and colorful butterflies. She also add small paint splatters next to each color to tie it into the white background. Find out how she put it together on the Simple Stories blog.
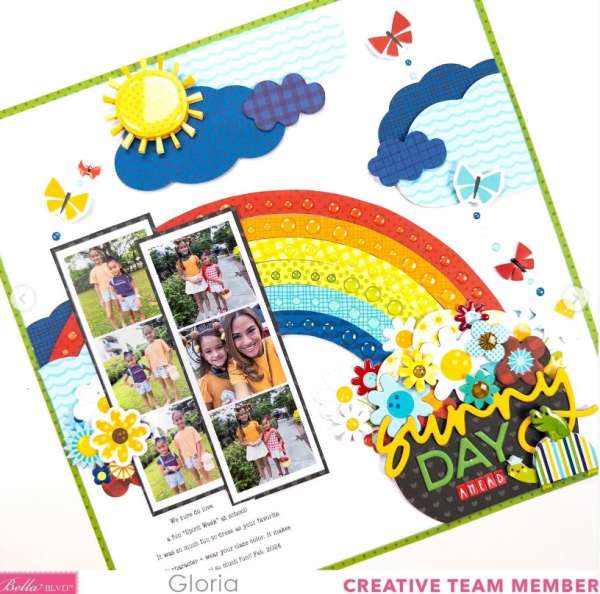
Gloria created a traditional arched rainbow using primary colors, applying clear gems to add a bit of sparkle. I love the big basket of flowers at the end of her rainbow and the entire scene she made with clouds, butterflies and the sun! I came across her idea on the gloriascraps Instagram page.
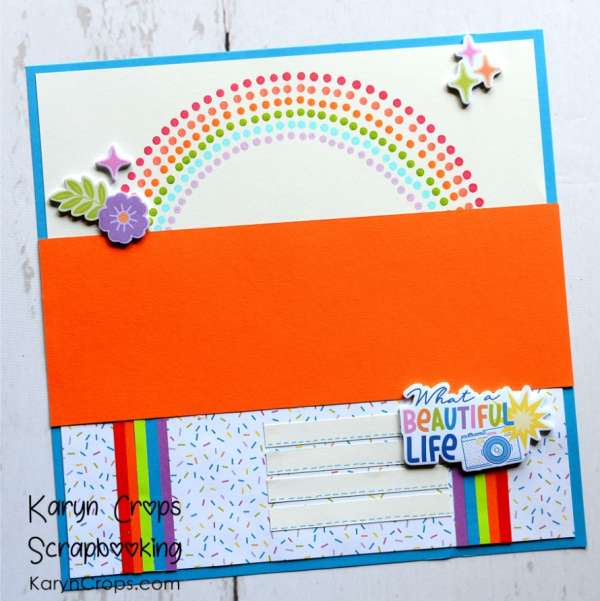
Karyn has a clever way to create your own rainbow, she used markers, making small dots in different colors using the marker tip. This is a great way to match your rainbow to the papers and embellishments you’ll use. She breaks it down on the Karyn Crops blog.
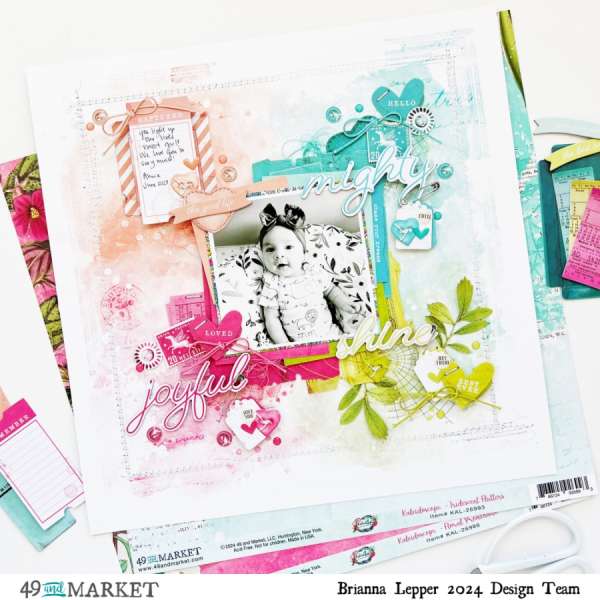
This adorable baby layout has a black and white photo that is surrounded by a rainbow of bright colors in each corner. Brianna used clusters of accents like chipboard, gems, laser cut embellishments, thread and more in each of the colors for such a pretty design! Learn more at the 49th and Market blog.
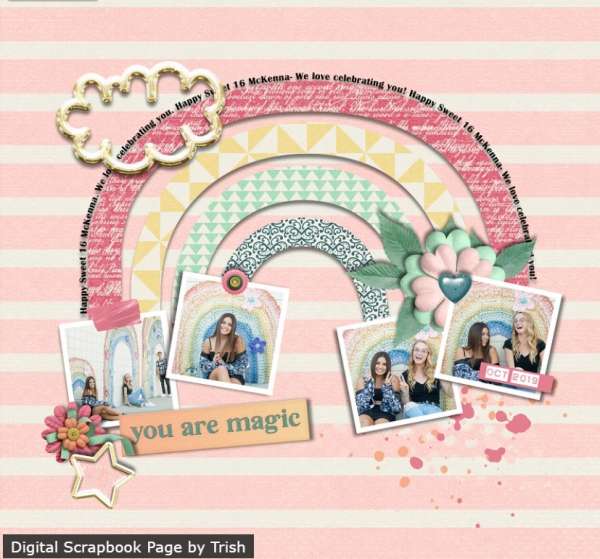
Digital templates can help you create quick and easy rainbows like on this page from Trish. She added her journaling around the outer arch and added her photos at each end of the rainbow. Take a closer look at this and other pages using similar rainbow templates at The Lilypad.
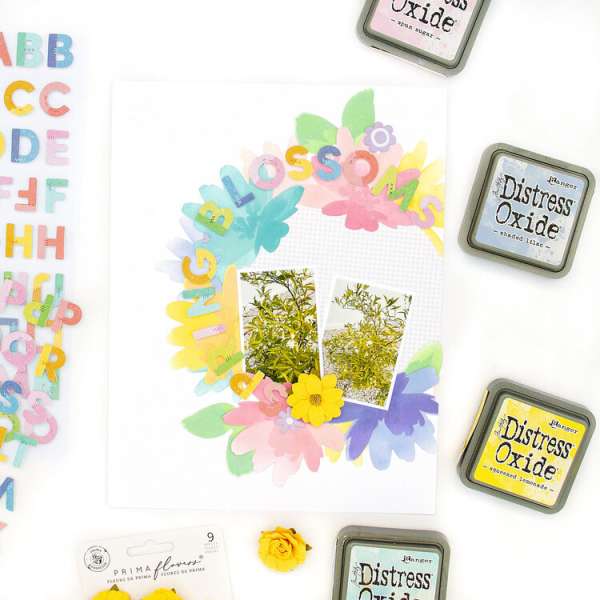
This beautiful Spring Blossoms page uses lots of different colors of Distress Ink pads with a flower stencil to create an amazing floral wreath. Notice how the sticker letters of the title use similar colors to keep it all cohesive. I came across this idea at Ajmcgarvey’s gallery at Scrapbook.com.
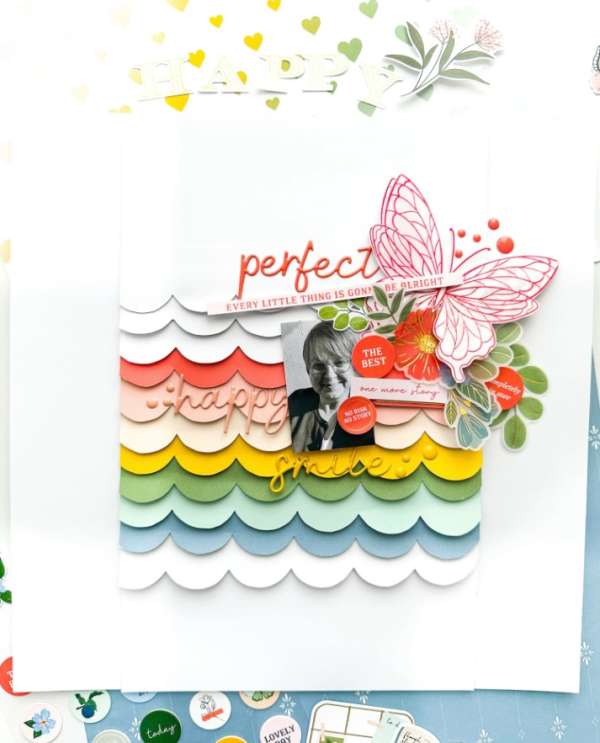
Kerstin created a rainbow inspired design using large scalloped strips of colorful cardstocks in a box in the center of her page. Over top she used sticker letters for the title, added the black and white photo with clusters of flowers, a large butterfly and sentiments. Take a closer look on the Pinkfresh Studio blog.
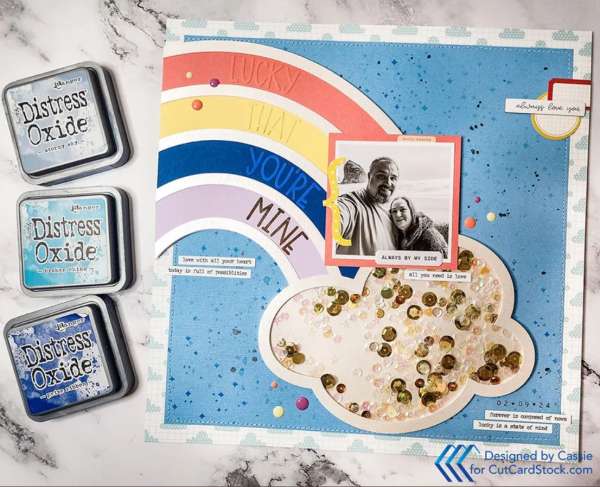
Cassie made a fun interactive shaker element inside a cloud at the end of her rainbow on this sweet layout. She used a small sparkle stencil for the background and die cut letters from similar colors to add the title on each row of the rainbow. Find step by step directions on the Cut Cardstock blog.
I hope you’ve enjoyed this trip over the rainbow and will incorporate some rainbows of color to your next scrapbook design!
-Heather
Visit our online Amazon store for a curated selection of must-have tools, embellishments, and supplies. Whether you’re a beginner or a seasoned pro, you’ll find everything you need to create stunning scrapbook pages that capture your favorite memories. Don’t miss out—check out our store now and start crafting with the best! Visit us at CraftGossip Amazon Store.

Leave a Reply